
Welcome back to the craft room and today’s Easy Clean And Simple Layered Floral Birthday Card post. Today we’re making an easy clean-and-simple layered floral birthday card using a floral die from Simon Says Stamp and Distress Inks.
I’ll show you how I shade plain white die cuts to bring the flowers to life. Then we’ll add a light Lost Shadow background for a subtle lift while still keeping that classic clean and simple white-space feel. Finally, we’ll layer everything together with a scalloped panel and sentiment.
So if you enjoy floral designs, easy ink blending, and soft backgrounds that enhance without overwhelming, let’s get started.
Stamping a Soft Plaid Background
Today I’m starting my card where I typically finish — with the card base.
I decided to stamp my background directly onto the front of the card. I have several background stamps in my stash, but I chose the beautiful Modern Plaid 6×6 stamp from The Ton Stamps. Pairing this with Lost Shadow Distress Ink gives a subtle, light background.

Even though this stamp will fit in my original MISTI stamping tool, I decided to use it directly on my desktop.
To ink the stamp, I took the ink pad to the stamp and applied ink over a large section. It takes a little time, but I wanted to be sure I covered enough area for the full 4.25″ x 5.5″ card front. Tipping the stamp into the light is the best way to check coverage — if it shines, it’s ready to stamp.

Because I’m stamping directly onto my Recollections 110lb white card base, I wanted to make sure it stayed closed. To do that, I added a small piece of Spellbinders Best Ever Craft Tape to the inside of the card. Since this tape can be quite sticky, I first placed it on my jeans to remove some of the tack so it wouldn’t damage the inside of the card.
After placing the card face-down onto the stamp, I covered it with a piece of copy paper. This helped me apply even pressure and also cleaned up some of the ink around the outside edges of the stamp.

Using my reverse tweezers, I carefully lifted the card from the stamp. This is definitely one of those projects where you get what you get. If I had used my MISTI, I could have restamped it. But for this card, whatever result I got would work perfectly.
One thing I do know is that the ink will dry back a bit — and thankfully the results were perfect!

Die Cutting and Coloring the Daisies
Setting the card base aside to dry, it’s time to turn to the star of the show — the Simon Says Stamp Etched Layered Daisy Stem die set.
For today’s flowers, I cut them from the same 110lb cardstock as my card base. I colored them using some of my favorite Distress Inks: Rustic Wilderness, Scattered Straw, and Aged Mahogany.

After die cutting the flower layers and stems twice with my Sizzix Big Shot, it was time to start adding ink.
Because these dies are very delicate, I decided to ink them while they were still in the surrounding cardstock. The stems did fall out, but I carefully placed them back in like puzzle pieces.
Using a makeup blending brush I picked up at Walmart years ago, I added Rustic Wilderness to the stems. Once inked, I added a little extra color to the ends of the leaves.
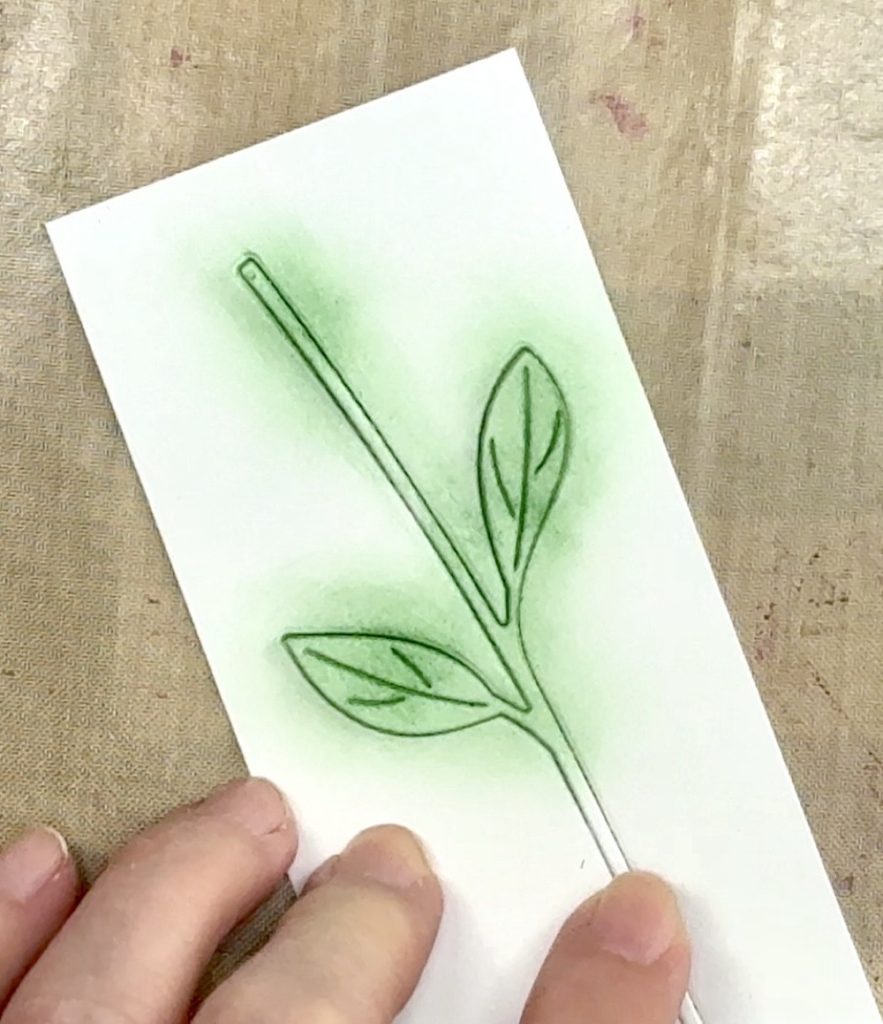
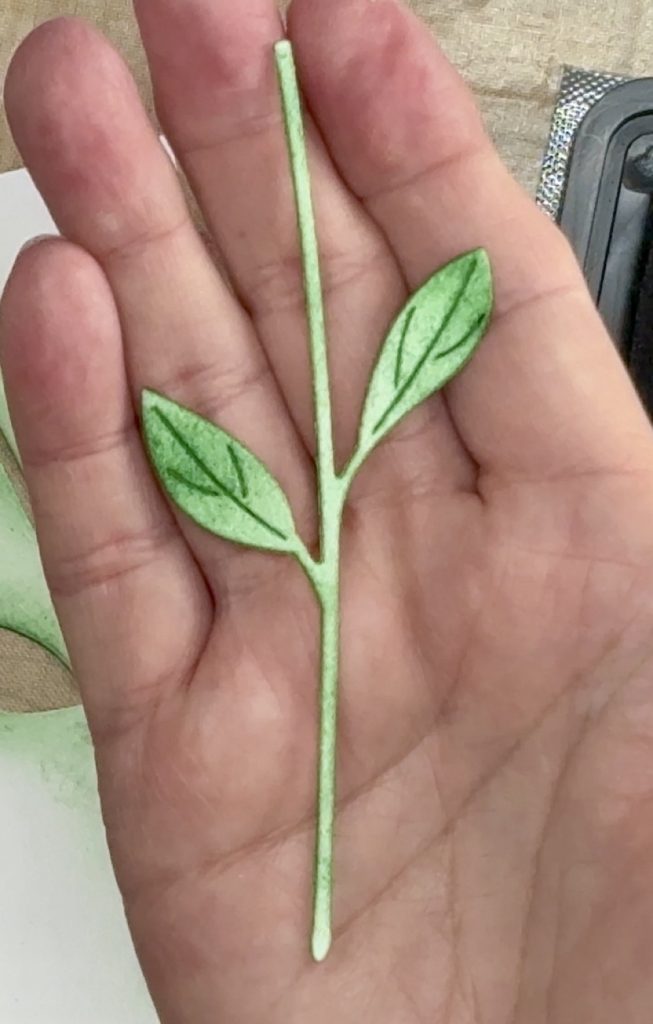
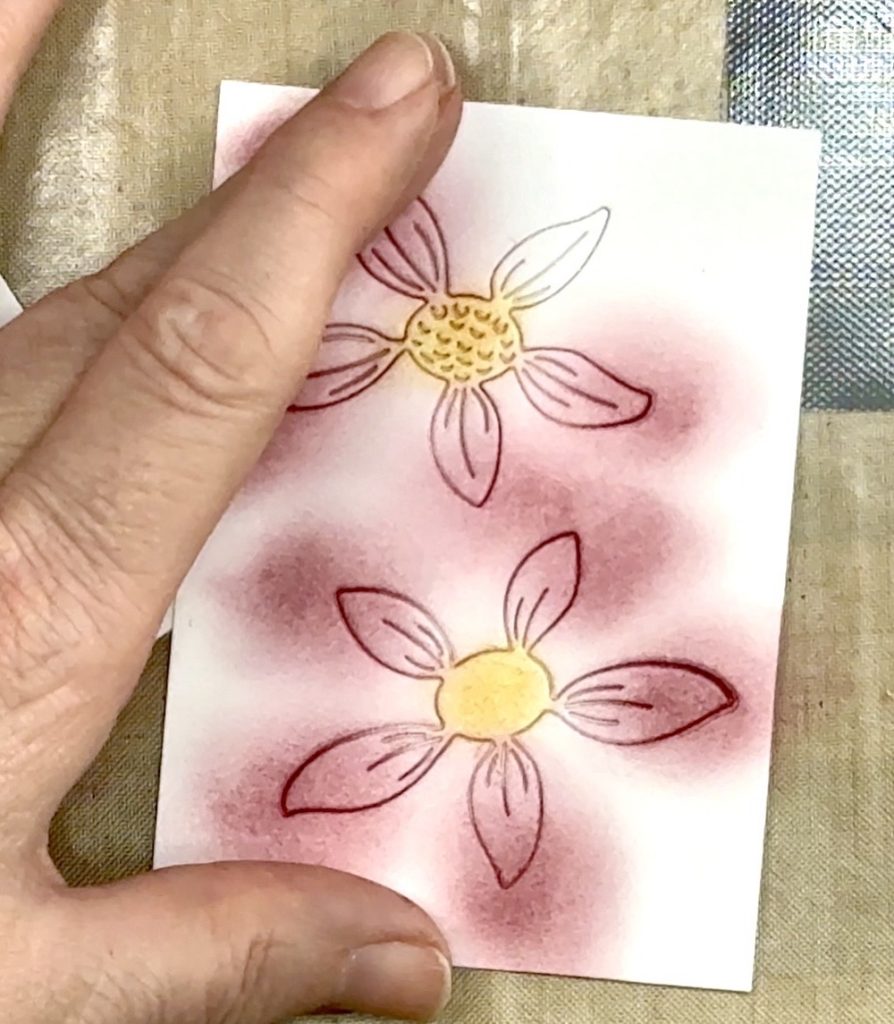
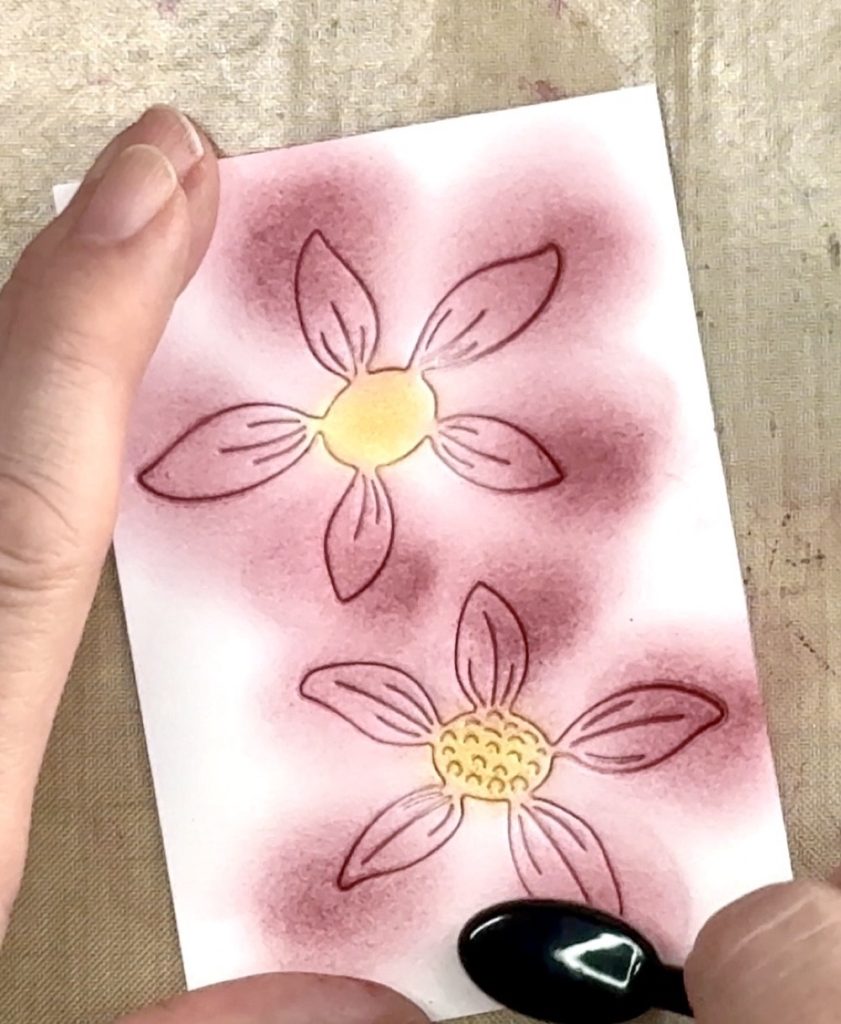
Next I moved on to the flower layers. Using a small Life Changing Blending Brush from Picket Fence Studios, I added Scattered Straw to the centers.

Then, with a slightly larger blending brush from Picket Fence Studios, I applied a light wash of Aged Mahogany over the petals. After that, I went back and added a little more ink to the tips.
Because the flowers stayed in the cardstock after die cutting, I left them in place for all the inking. Unfortunately, one of the flowers didn’t cut all the way through, so I did have to cut one additional layer for the finished card.
Creating the Soft Gray Background Panel
Before putting my inks and blending brushes away, I had two more pieces to work on.
From the same cardstock, I die cut a Spellbinders Nestabilities Long Classic Large Scallop Rectangle. I also cut a small 0.5″ x 2.75″ strip for the sentiment.

With the rectangle die still in place and a Waffle Flower blending brush, I added Lost Shadow Distress Ink for a very light wash of color. I inked both the rectangle and the sentiment strip.
Even in person, the color doesn’t look like much until the die is removed. But that small white border around the gray makes a big difference and really helps the color stand out.

Assembling the Layered Daisy Flowers
Once again I set my inked panel aside to dry completely, and then it was time to assemble the flowers.
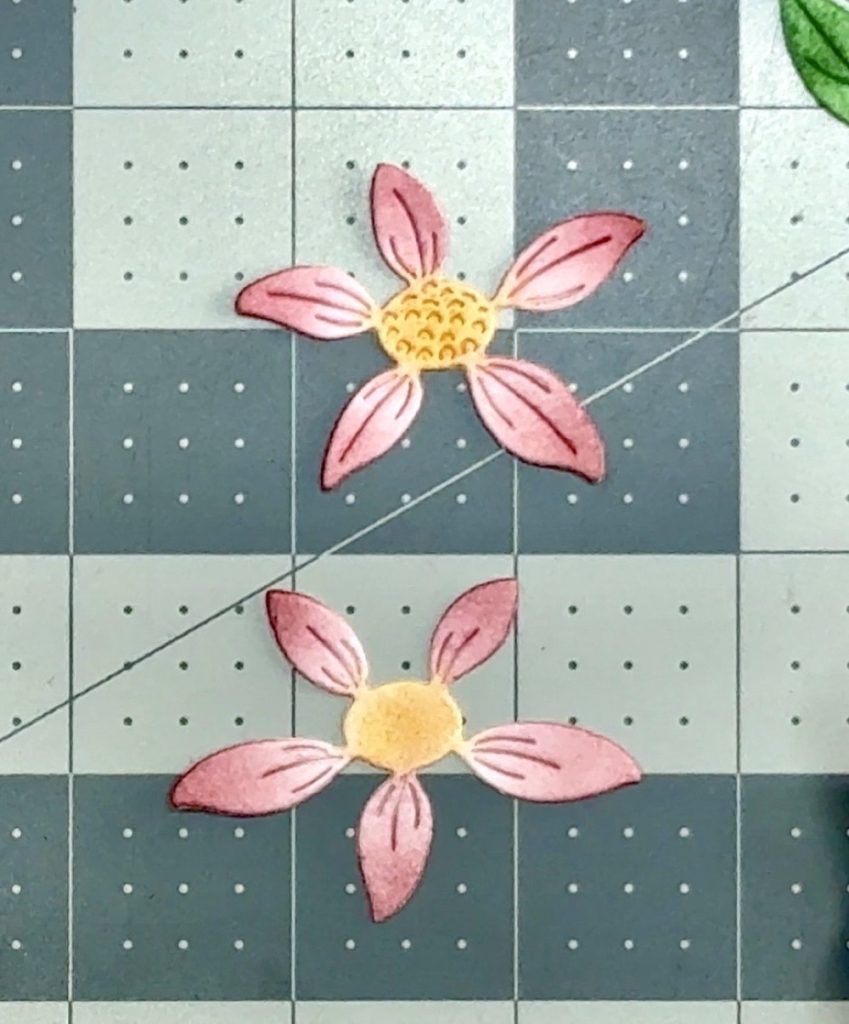
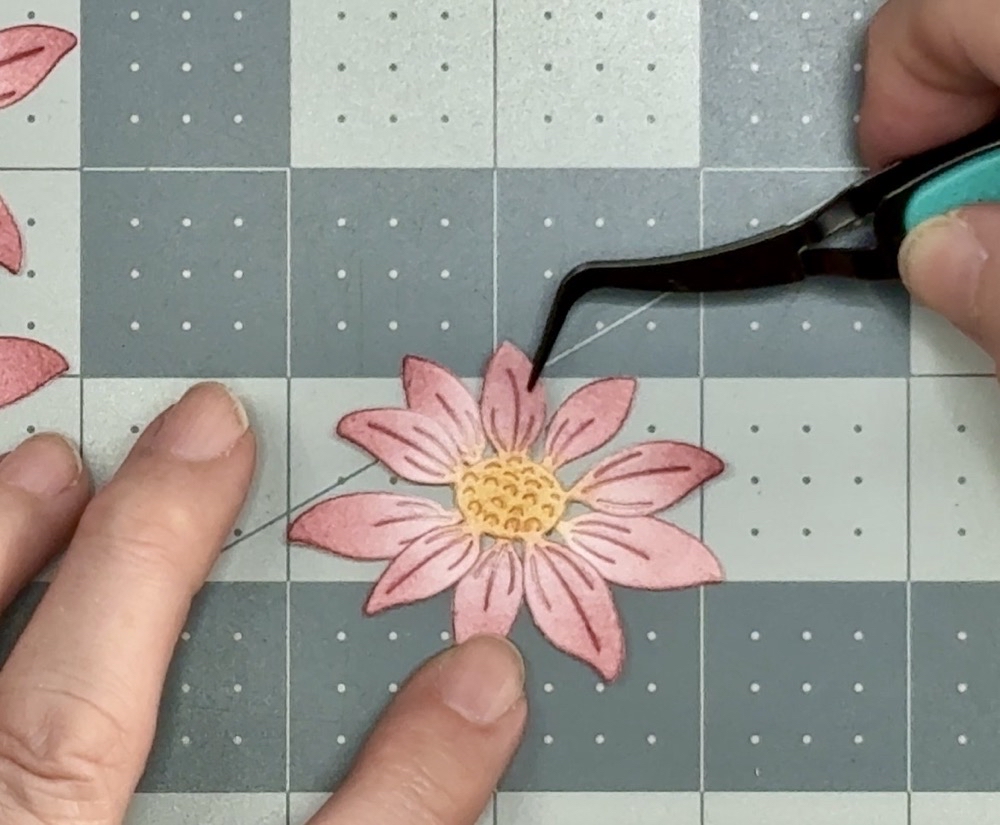
I always have a difficult time assembling layered flowers like this because my mind doesn’t always “see” how they fit together. But as long as I remember to place one petal pointing up and one pointing down, everything lines up perfectly. From there, it’s simply a matter of lining up the centers.
To glue the layers together I used a small amount of Bearly Art Precision Craft Glue.
Next I brought my inked rectangle back in to determine how long I wanted the stems. For the back flower I left the stem full length, but I trimmed about an inch from the second stem.
Because these pieces are tiny, gluing the stems to the flowers can be tricky. After positioning the flower where I wanted it, I turned the entire piece over.
From there I threaded my reverse tweezers between the petals to grasp both the stem and flower. I lifted the tip of the stem slightly with my fingernail and added a small dot of glue to secure it to the back of the blossom.

Stamping the Birthday Sentiment
Choosing the sentiment was easy today!
My go-to stamp set for clean and simple designs is the Kaiser Craft Occasions stamp set. I stamped the sentiment using Distress Archival Ink in Black Soot.

My sentiment strip, if you remember, is 0.5″ x 2.75″, so it’s fairly small. Because of that, it was easy to set up the “happy birthday” stamp in my Mini MISTI.
I lined the stamp up in the lower left corner on the quarter-inch line of the mat. Then I placed the sentiment strip into the same corner, making sure it was pressed tightly into place before stamping.
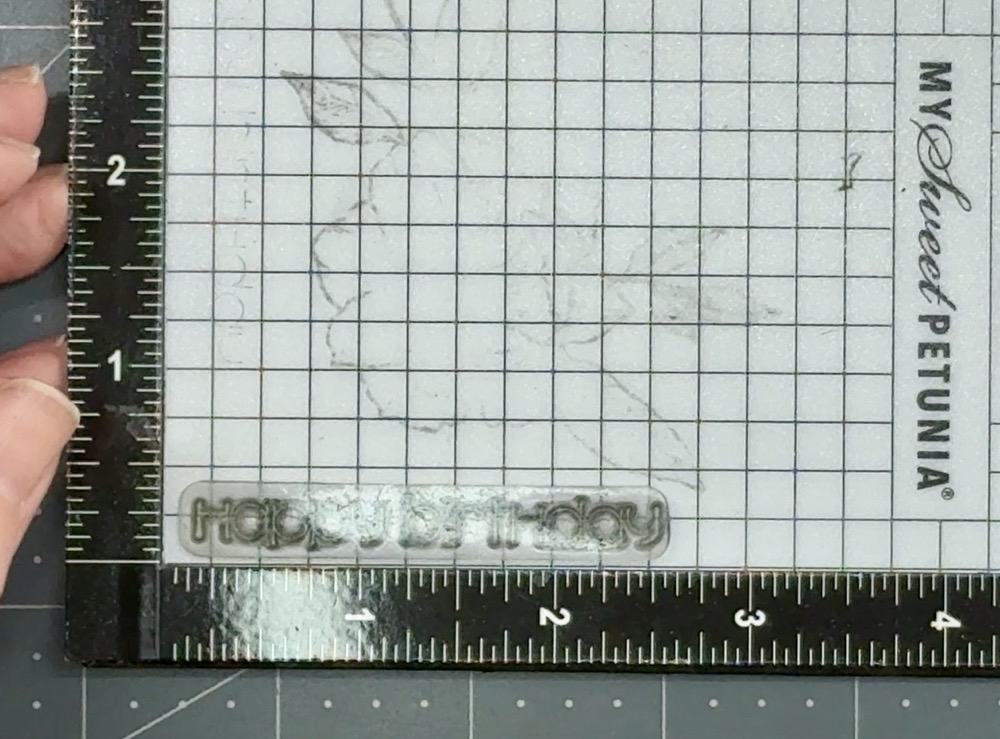
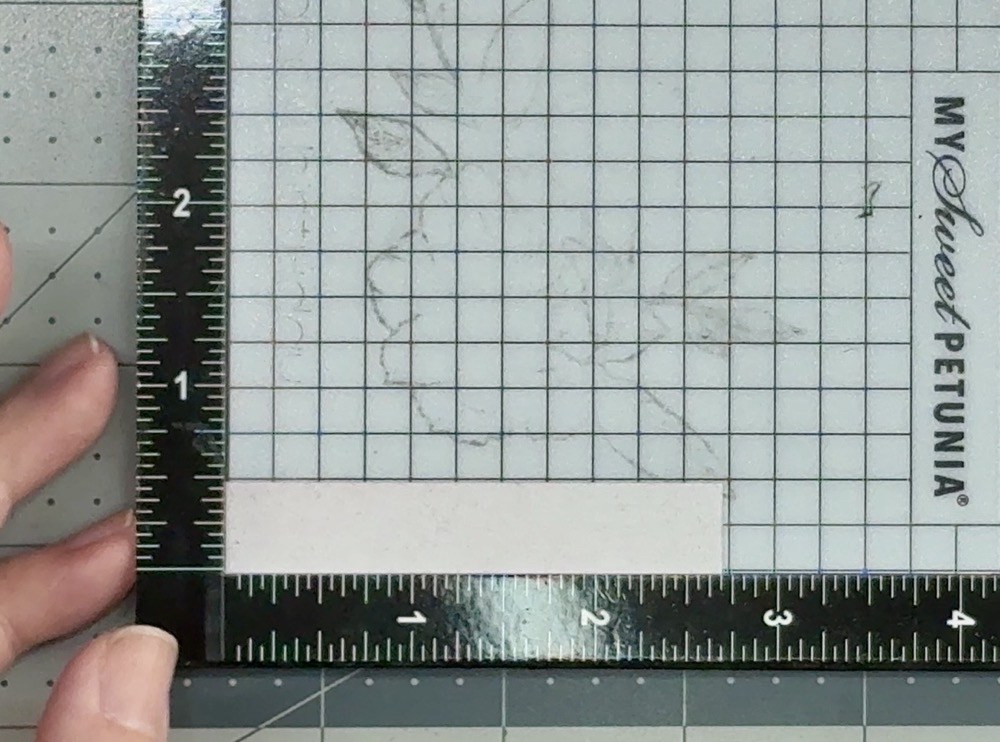
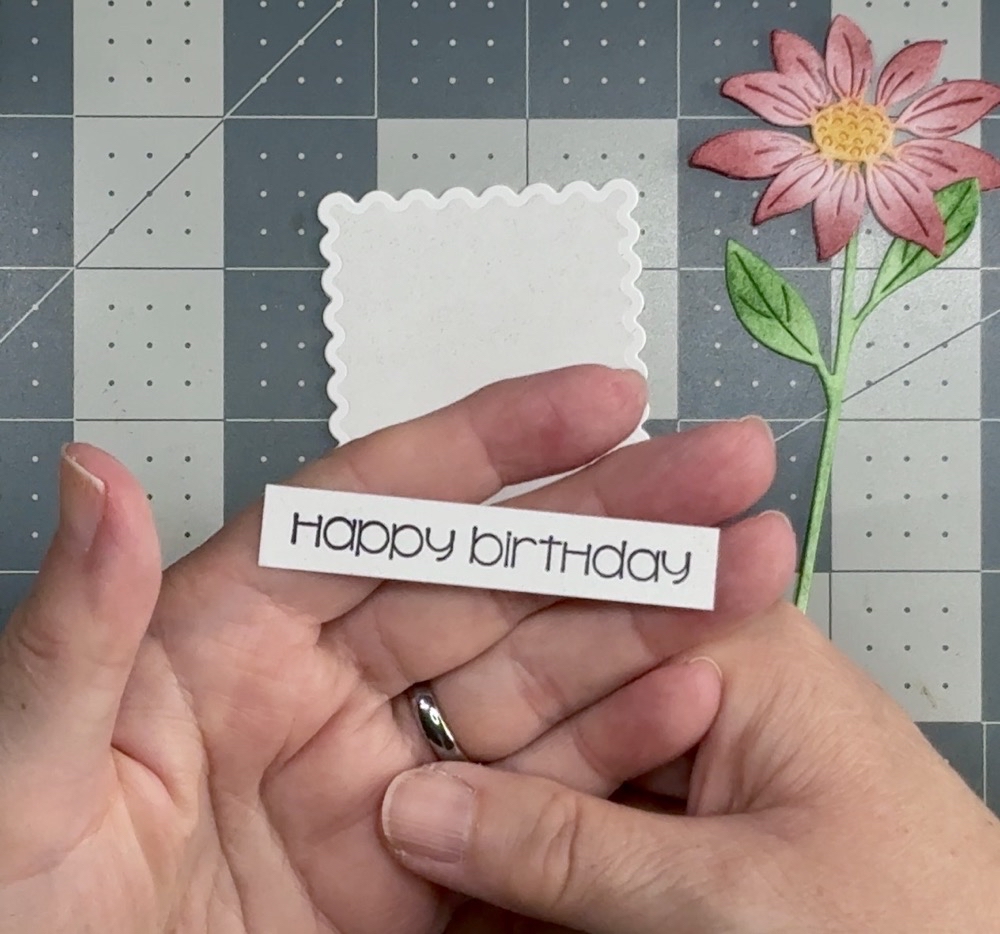
While stamping the sentiment, something about the strip looked a little off. It wasn’t until I placed it on the card base that I realized the color looked wrong. Looking closer, I could see a pink hue!
Apparently I hadn’t cleaned my Teflon mat well enough after inking the daisies. So it was back to the scrap bin to cut, ink, and stamp a brand new sentiment strip.
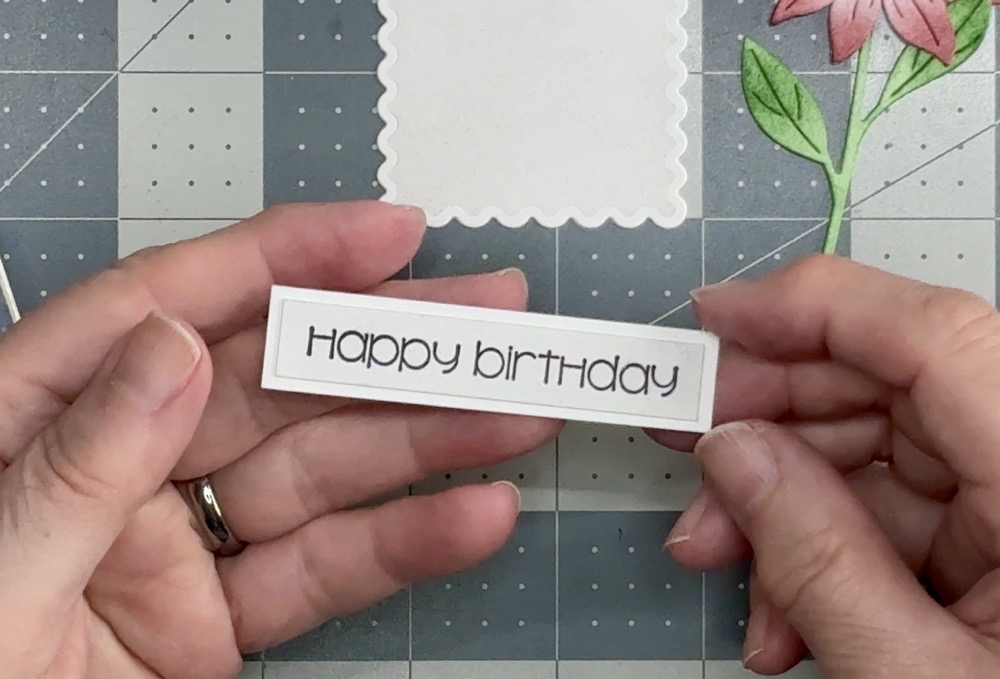
With the sentiment fixed, it was time to mat it for the final card. I cut another piece of 110lb Recollections white cardstock to 3 7/8″ x 5/8″. I wanted just a tiny sliver of a mat to match the scalloped rectangle.
Assembling the Clean and Simple Card
Now that everything is ready, it’s time to bring the stamped card base back in.
You can see that the ink dried back slightly, allowing the white card base to remain the main focus.

Using my centering ruler from Club Scrap, I found that centering the rectangle left just a little over 1″ margins on each side. To adhere the panel, I used both ¼” Scor-Tape and Bearly Art Glue.

I wanted both flowers glued directly to the card front, so I added glue only to the back petals, stems, and leaves. I’m not a huge fan of extra dimension, so the height created by layering the flowers was perfect for me.
For the second flower, the glue was again added only to the back layer, stem, and leaves.

Since the card already had three layers, I used Thin 3D Foam Squares from Scrapbook Adhesives on the ends of the sentiment strip. The strip was long enough to rest directly on the card front.
Adding a tiny bit of wet glue to the foam squares gave me just enough time to wiggle the sentiment into perfect alignment.

Finished Clean and Simple Daisy Card
Thank you so much for joining me for today’s Easy Clean And Simple Layered Floral Birthday Card. I really love how this card came together. Even with the stamped card base, it still keeps that clean and simple feel with plenty of white space. The daisies truly become the star of the show against the white and soft Lost Shadow background.

The only small downside for me was the cardstock. I used Recollections for this card, and while I love that the shade of white matches perfectly from the base to the other pieces, it isn’t always the smoothest surface for ink blending.
Compared to a sample I tried on Strathmore Bristol Vellum surface, this one looks just a little more blotchy to my eye.

I’d love to hear from you — what cardstock do you prefer for ink blending? Have you found one that gives you really smooth results?
If you’d like to see more projects using this adorable daisy, you can find them here: Etched Layered Daisy Stem. Until then, have a fantastic week, and I’ll see you back in the craft room again soon!
Shop for Supplies Here

PIN THIS POST FOR LATER!
