
Welcome back to the craft room and today’s How to Create Textured Paper with Mamigami post. Did you know you can turn ordinary paper into something soft, flexible, and beautifully textured? With the Mamigami technique, a little hand lotion is all it takes to create stunning, fabric-like paper that adds a unique touch to your crafts. In today’s video, I’ll walk you through this simple yet effective process, perfect for card making, embellishments, and more. Let’s dive in and transform paper in a whole new way!
What is Mamigami
Mamigami is a Japanese-inspired technique that transforms paper by kneading it to create a soft, flexible, and richly textured surface. Traditionally, this method involves applying a water and starch mixture to the paper before kneading it by hand. This process not only enhances the texture but also loosens the fibers, giving the paper a fabric-like quality. Mamigami is most often used with delicate, absorbent papers like washi, mulberry, or tissue paper, allowing for beautifully organic textures.
There are many different materials that can be used to soften paper beyond traditional tapioca or rice starch. According to ChatGPT, options range from glycerin and baby oil to vinegar—and even, surprisingly, fabric softener. Each one adds unique properties to the finished piece but also comes with its own potential drawbacks
My first introduction to Mamigami came during a conversation with my sister. I was lamenting the fact that I had run out of my favorite textured paper when she sent me a link to one of her favorite crafters Gayle Agostinelli’s Mixed Media Monday! – Momagami!!!. As we continued our conversation, I decided to give the technique a try—and I loved the results! Below, you’ll find a few of my first experiments using a variety of papers, including coffee- and tea-dyed printer paper, printer paper, as well as printer paper with acrylic ink, heavyweight patterned paper, 65lb cardstock. The large square of paper int he upper right hand corner is butcher paper. This was created with the Mamigami technique but I did not use lotion. The only thing I did was knead this into a ball several times.

Today, I’m sharing a quick tutorial on how I created a few pieces of Mamigami paper. I’ll be experimenting with different papers from my craft stash to see how they respond to this technique and the textures they produce. Instead of the traditional starch mixture, I’ll be using Nivea body lotion as my softening agent. I’ll guide you through the process step by step, showing how each type of paper reacts and the unique effects that emerge. Let’s get started!
My Technique
There are several ways to apply lotion to the paper for this technique. I opted for a medium amount, spreading it evenly between my hands before working it into the paper. To protect my workspace, I placed each piece on a Teflon craft sheet. I gently applied lotion to the front of the paper, then flipped it over to coat the back as well. From there, I carefully crumpled and kneaded the paper before smoothing it out. I repeated this process multiple times to achieve the desired texture. Before letting each piece dry, I laid it flat on the craft sheet, gently pulling it into shape to keep it as square as possible.
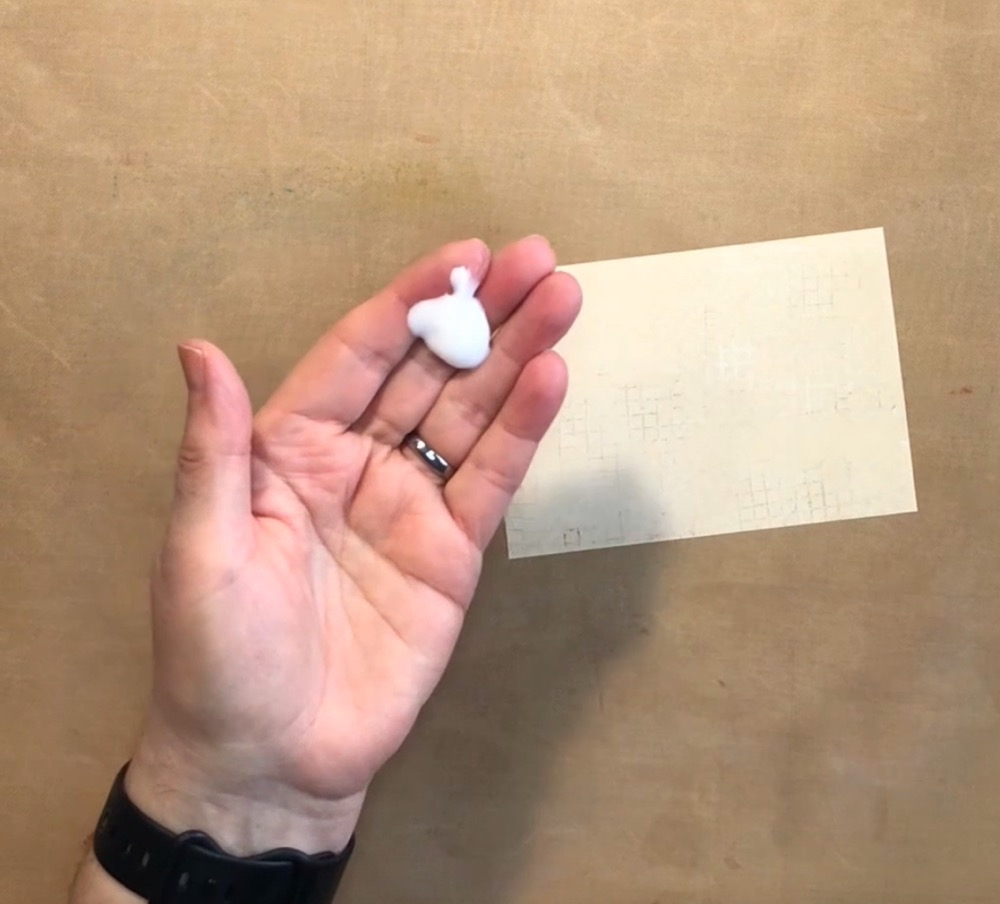
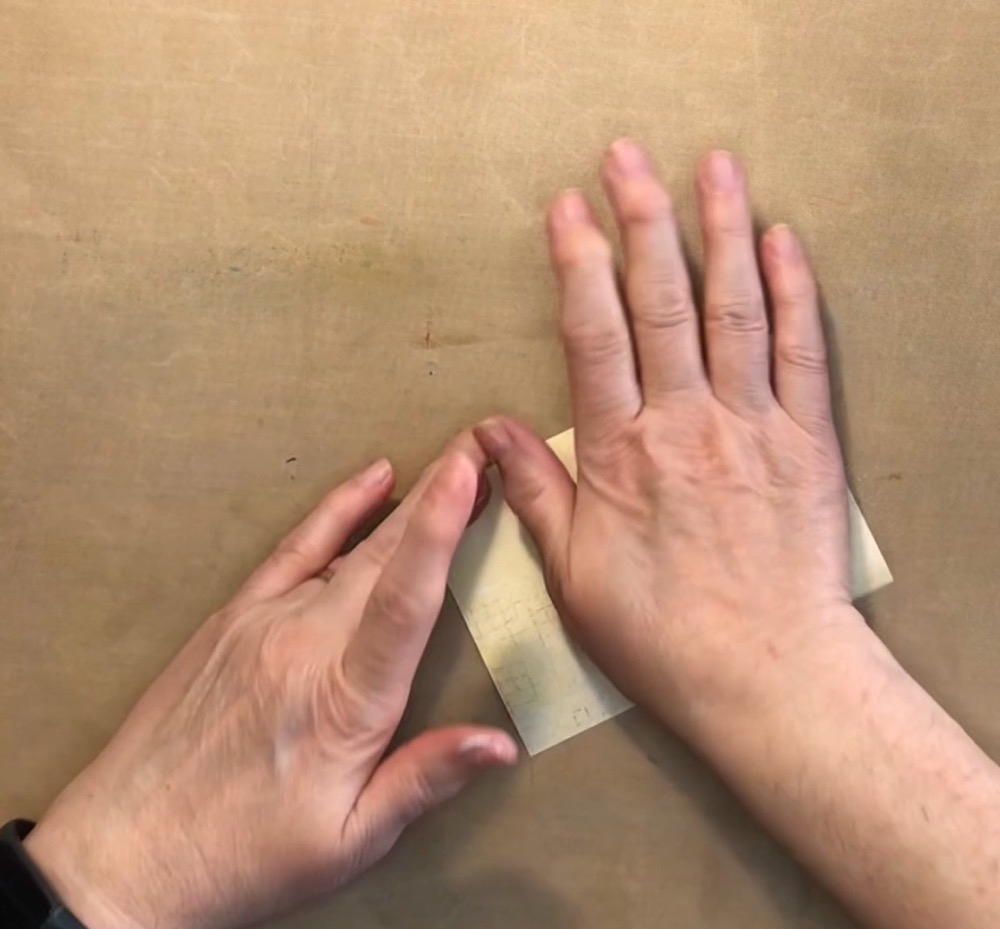
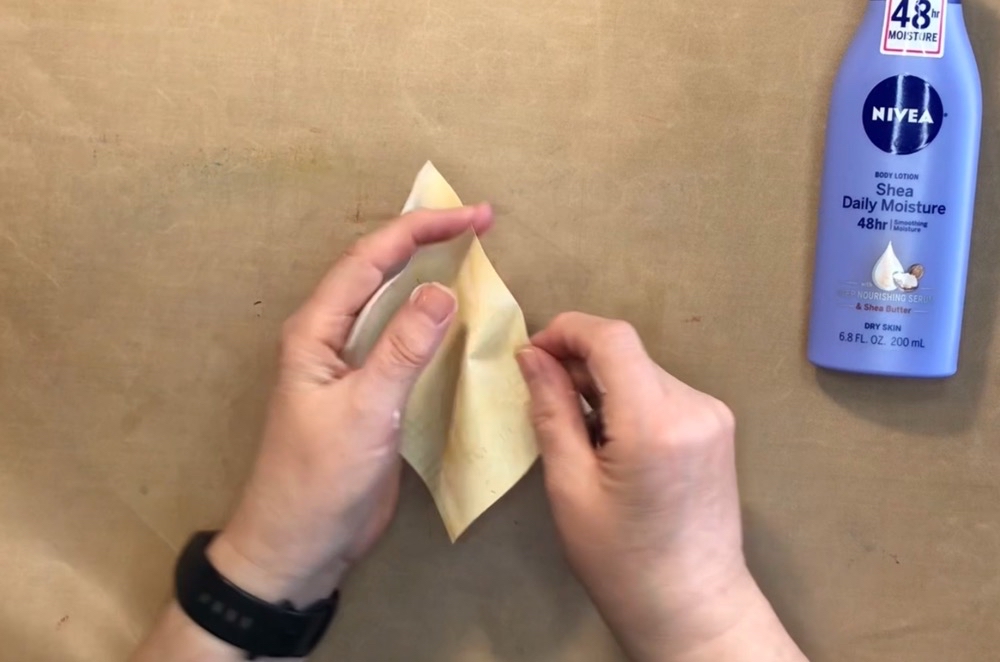
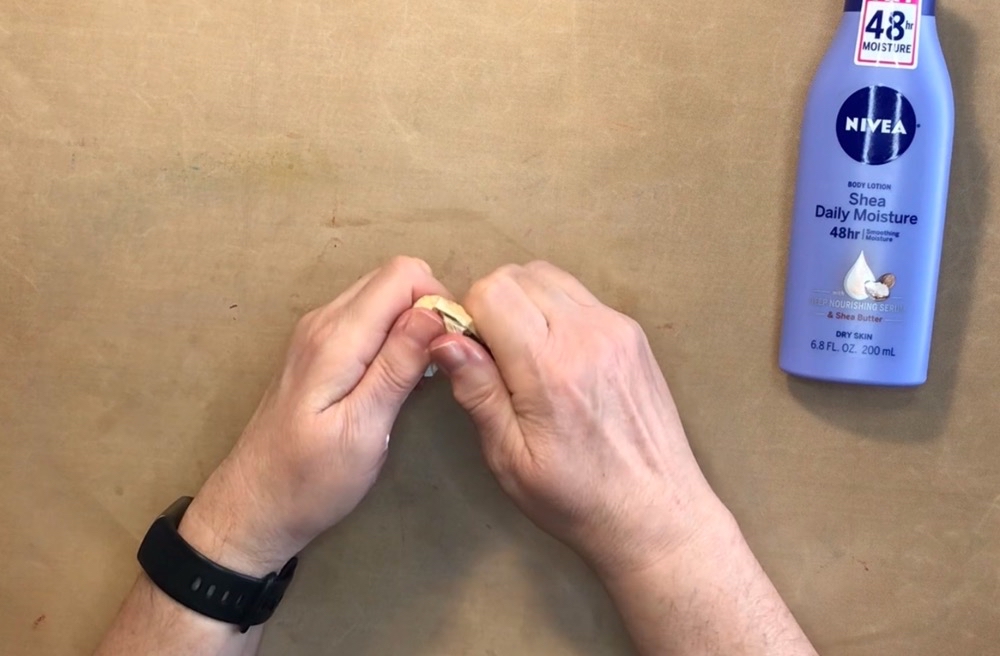
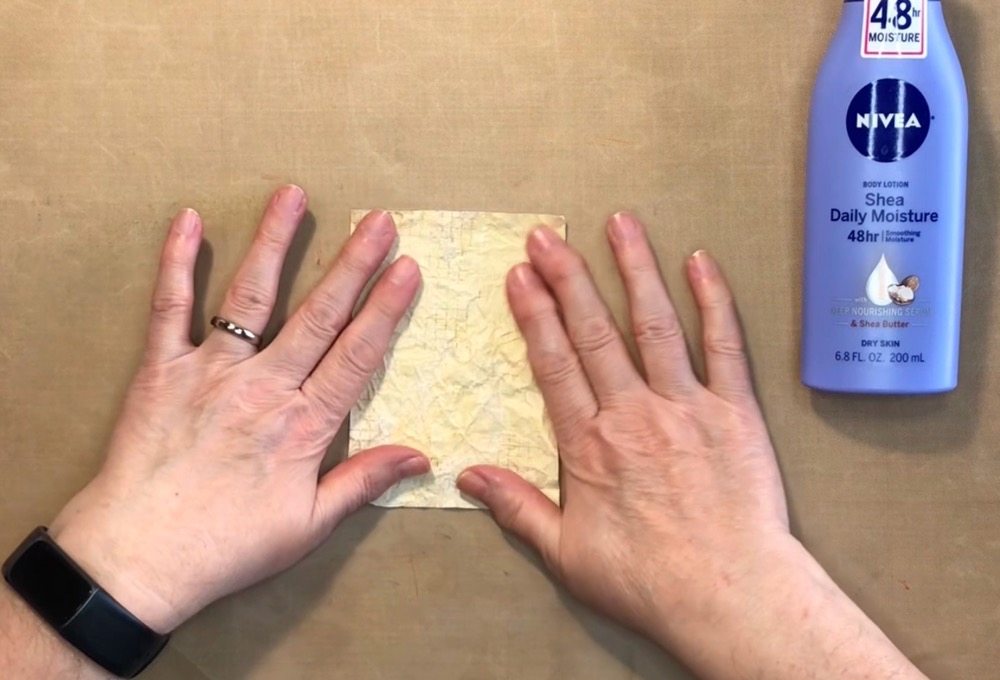
The Final Results
Printer Paper with Distress Inks
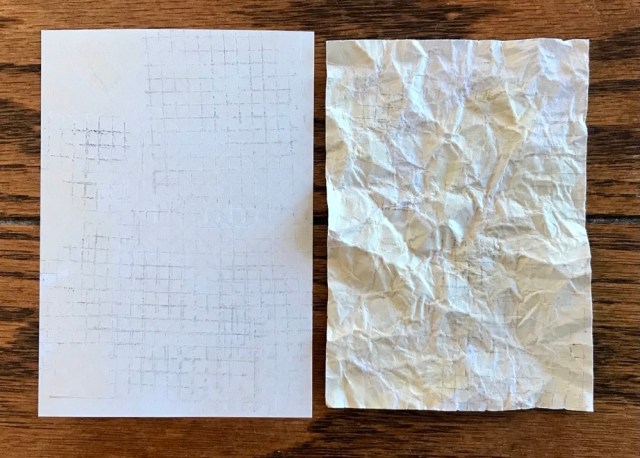
For my first example, I used a piece of printer paper with a Distress Ink design applied via my Gel Plate. Since Distress Inks reactivate with water, I was curious to see how they would respond to lotion instead. While applying the lotion, I noticed a small amount of ink transferring to my hands, but not significantly. As shown in the before-and-after image below, there are some noticeable color differences. Certain areas appear lighter, while the overall color seems to have deepened, adding richness to the design. I really love the effect on this small piece of paper and already have a couple of ideas for card projects. I can see distressing the edges even more to enhance the overall texture and give the panel an even richer, aged look.
Printer Paper with Acrylic Paint
I honestly had no idea how this piece would turn out given the acrylic paint. While the paint wasn’t applied in a thick coat since it was first transferred to a Gel Plate, there are still two layers to consider. To say I’m thrilled with the result would be an understatement! The combination of the visual texture from the gel print and the physical texture from the Mamigami technique is absolutely stunning. I already know I’ll be using this sheet to create leaves, though I’m still deciding how to arrange them on a card. I might even deepen the effect by adding a touch of darker green ink around the edges after cutting them out. Below, I’ve included a before-and-after picture so you can see the transformation for yourself.


Tissue Paper
I had high hopes for this paper, but unfortunately, things didn’t go as planned. The tissue paper completely disintegrated in my hands. I’m not sure if this happened because it wasn’t a new piece or if it was simply too lightweight for the technique. Either way, this one ended up as a sad little piece of tissue paper and the only major fail of the experiment.


Light weight Pattern Paper
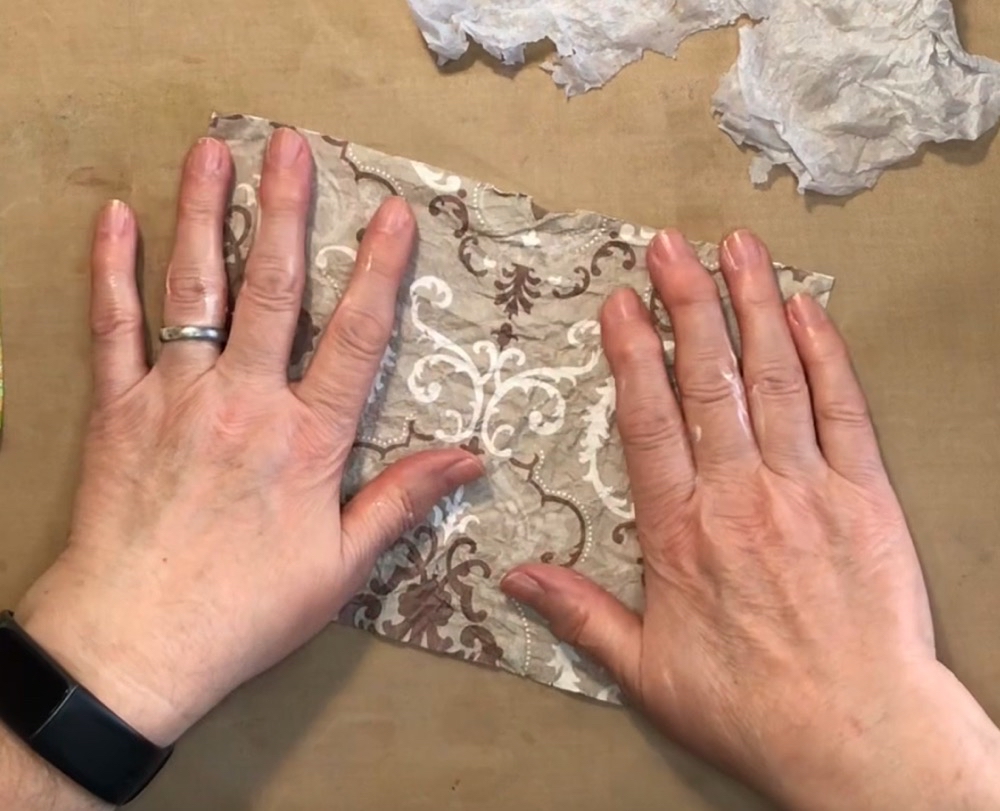
The patterned paper I chose for this experiment is from the Colorbok French Prep paper pad. While it’s acid-free, it’s also quite thin. I selected a design I didn’t like and wouldn’t use as is, hoping that adding texture would make it more appealing. After the tissue paper disaster, I was extra careful with this piece, and at first, everything seemed to be going well. However, when I applied more lotion, the added moisture weakened the paper too much, causing it to tear. Since I wasn’t planning to use the sheet as a whole anyway, I decided to go with it and tore it the rest of the way. As you can see in the image below, the texture experiment took an unexpected turn!


65lb Card Stock with Acrylic Paint
The final piece for today’s Mamigami adventure is a 65lb white Recollections cardstock. Like a previous example, this one also has at least two layers of acrylic paint from a Gel Plate experiment. During the kneading process, the top layer of the cardstock began to separate in some areas, or even peel away completely. I love how this creates an additional layer of distressing, adding even more character to the panel. When turning this into a card panel, I can see myself adding a light layer of Distress Ink to emphasize the texture. A touch of Vintage Photo Distress Ink would not only highlight the distressed areas but also slightly tone down the bright paint colors for a more cohesive look.

Final Thoughts on Mamigami
And that wraps up How to Create Textured Paper with Mamigami! Some papers worked beautifully, while others presented a few challenges—but that’s all part of the creative process. I’ll be letting these samples dry for a few days before testing them in some card projects. If you’re curious to see how they hold up and what I create with them, be sure to check back soon. In the meantime, have you tried this technique before? Do you have any tips or favorite materials? I’d love to hear your thoughts in the comments! Wishing you a fantastic week—see you back in the craft room soon!
Shop for Supplies Here

PIN THIS POST FOR PATER!
