
Welcome back to the craft room and today’s How to Sublimate Hat Patches post. Over the last few weeks, I have been seeing a lot of YouTube videos showing how to sublimate hat patches. Most of them involved purchasing a premade patch with a sewn edge. However, the videos that captured my attention are made with 100% polyester fabrics. These are the hat patches I had to try to make. Let me show you what I created!
To begin this project I first headed to Hobby This of course began with a trip to Hobby Lobby to pick up the material.
Supplies For Sublimated Hat Patches
The Fabric
Many of the videos I watched just spoke of a 100% polyester linen type fabric. It wasn’t until I ran across a video from the INDUSTRIAL Fringe YouTube channel that a specific type of material was mentioned and that it was purchased from Hobby Lobby. After a quick search on the Hobby Lobby web page, I found out the fabric mentioned is no longer available, but I did find a few other options to check out. The fabric I chose to purchase is called Kokomo Linen Outdoor Fabric with the SKU number 2053536.
This light oatmeal colored fabric is perfect for the frayed edge, distress look I am going for. There are a few important things to keep in mind when sublimating with this fabric though. It is VERY important to pre-press the fabric. During my initial test runs, I encountered horrible ghosting during the sublimation process. This was because the fabric was shrinking during that portion of the heating process. I did not have perfect results until I pre-pressed the fabric at 400 degrees for 65 seconds. In the image below you can see just how much of a difference this made.

The Hats
The hats were purchased in a few different locations beginning with Hobby Lobby. While looking at the different options available to purchase, my husband found the distressed trucker hat and really liked it. I also found the faded black Ponytail Hat, so I picked that one up as well. I found the third hat on sale at my local Walmart. With a price of only $2.00, it was a no brainer!
The Images
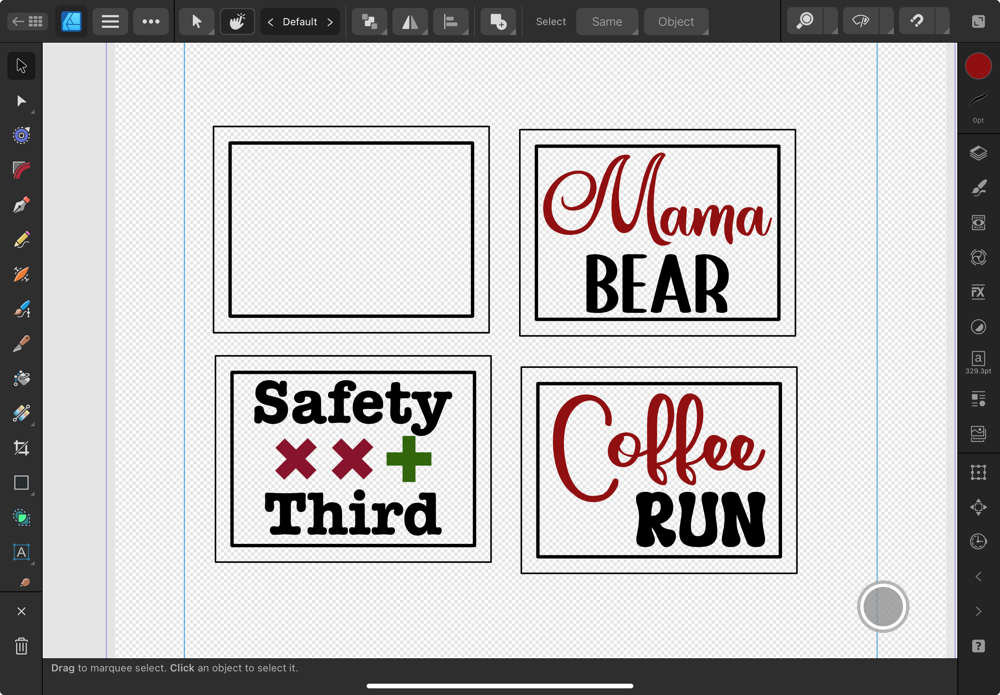
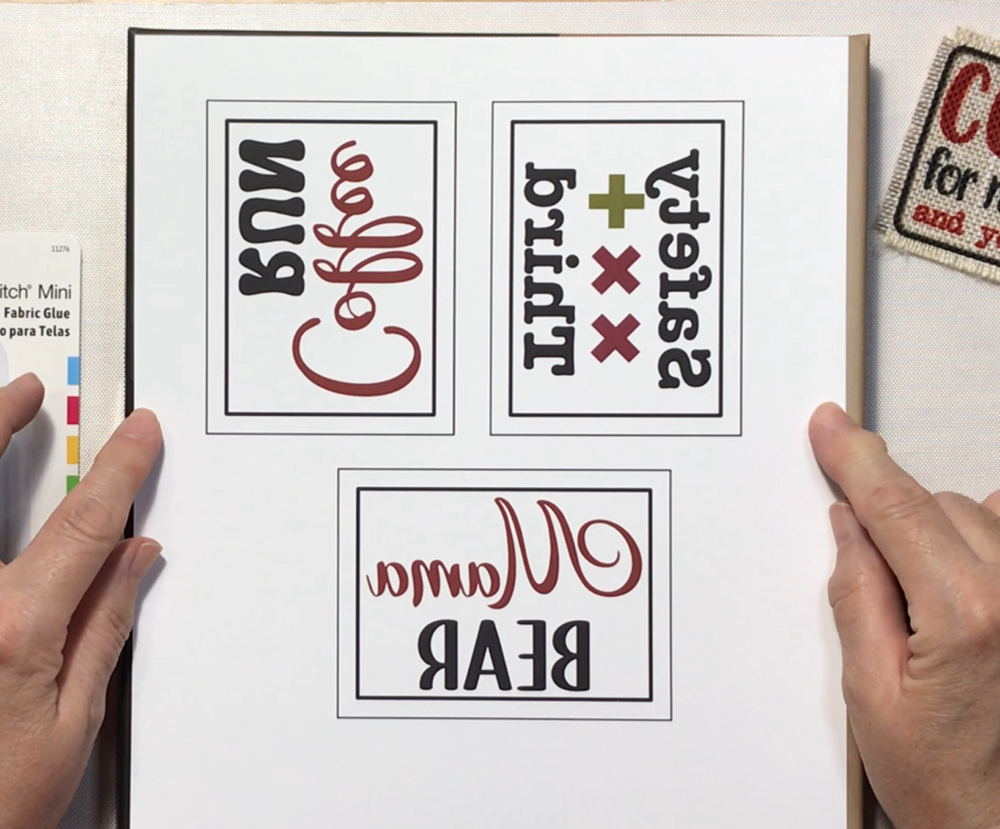
The hat patches I made today were created in Affinity Designer 2 for the iPad. I started off with a rectangle design sized to 3.5” x 2.5”. I included an additional rectangle around this as a weeding box of sorts. It gives me a general idea of how much fabric to fray before I get to the outline of the patch design. All the images are printed onto a piece of A-sub Sublimation paper with my Epson SureColor F170 sublimation printer.
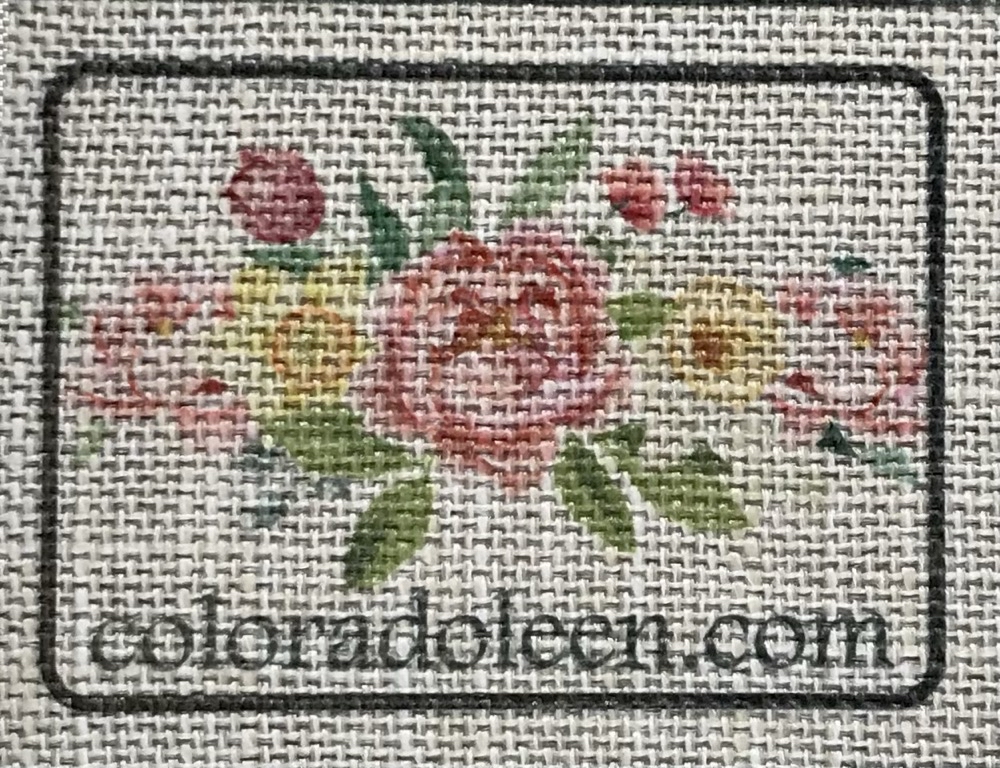
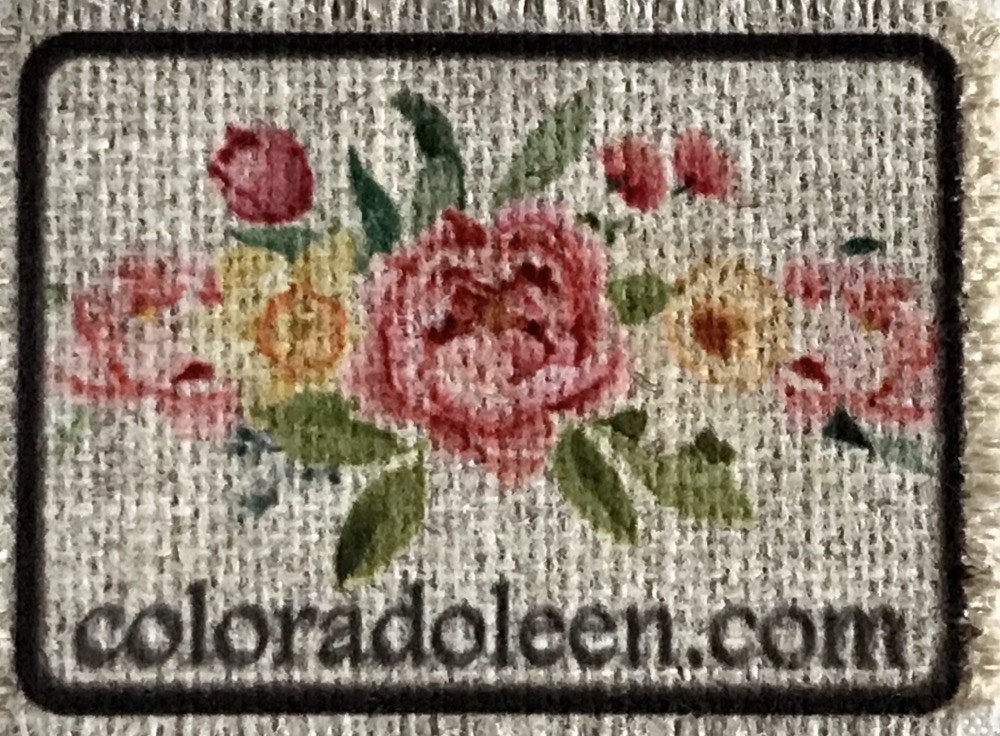
During the trial run of this fabric, I found out that text images work much better with this textured fabric. I did try to sublimate the header image from both my YouTube channel and here on the blog. Because the floral image does not have an outline of each flower, the image really did not translate well to this heavily textured fabric. The reverse side of this fabric is smoother, but the results were the same: just a pretty blob of colors.
Sublimating the Hat Patches
After the fabric has been pre-pressed, allow it to cool for a moment or two before adding the sublimation print. Prior to taping the paper down to the fabric, make sure you are lineing up with the weave of the fabric. This will ensure a straight pull of the threads when fraying the patch. Cover your project with uncoated white butcher paper and sublimate the image at 400 degrees for 75 seconds. Again, let it cool down just a bit before removing the image.

Prepping and Applying the Patch
After the sublimation process, I cut the images apart and trimmed them just on the inside of the outer rectangle. To fray the edges, I dipped the patch into a little bit of water before using my Cricut pick to remove a string at a time. This fabric is not easy to fray, but the water does help. After all four sides are complete, set them aside to dry completely before moving onto the next step.

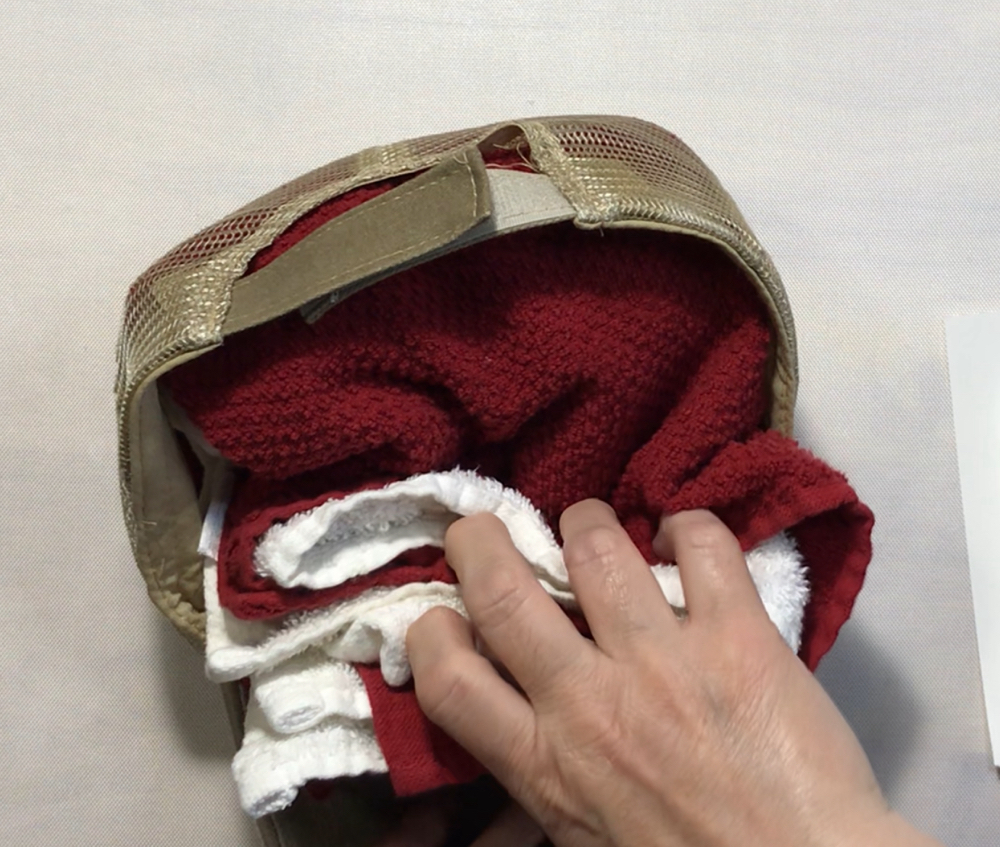
Because the baseball style hats used in today’s project are rather floppy, I decided to stuff two folded-up hand towels into the hat. This provided a stable and straight surface to work with. If you have one available, a pressing ham or pillow can also be used.
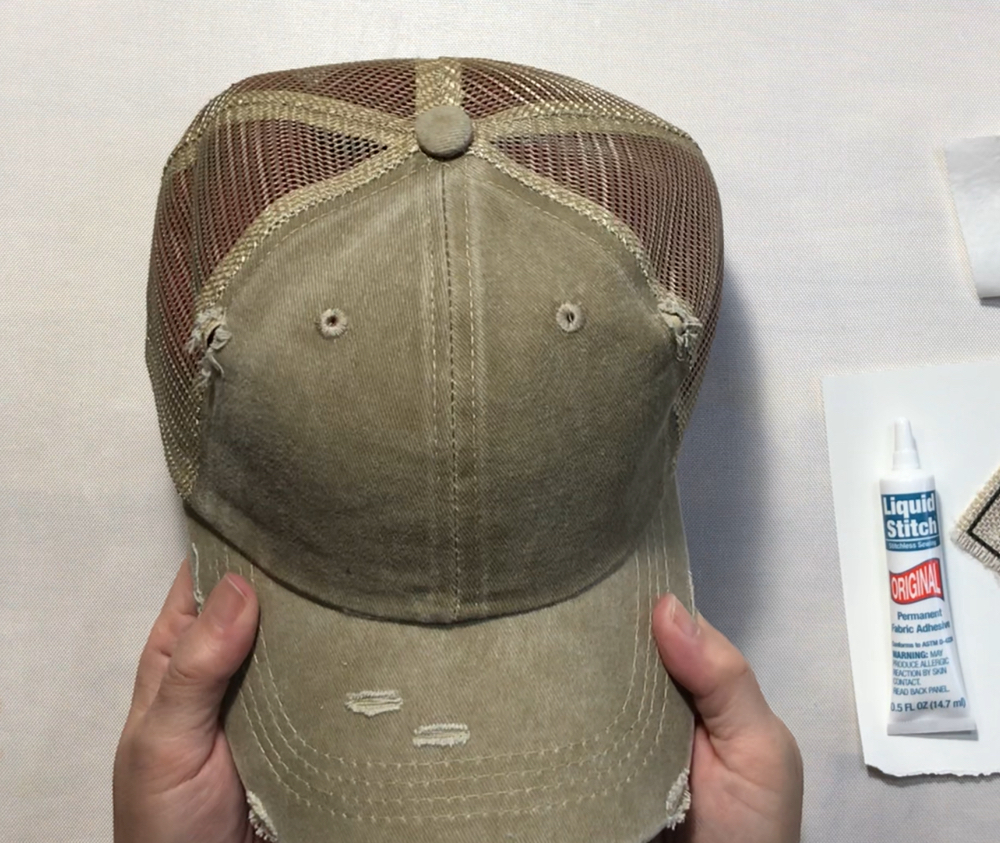
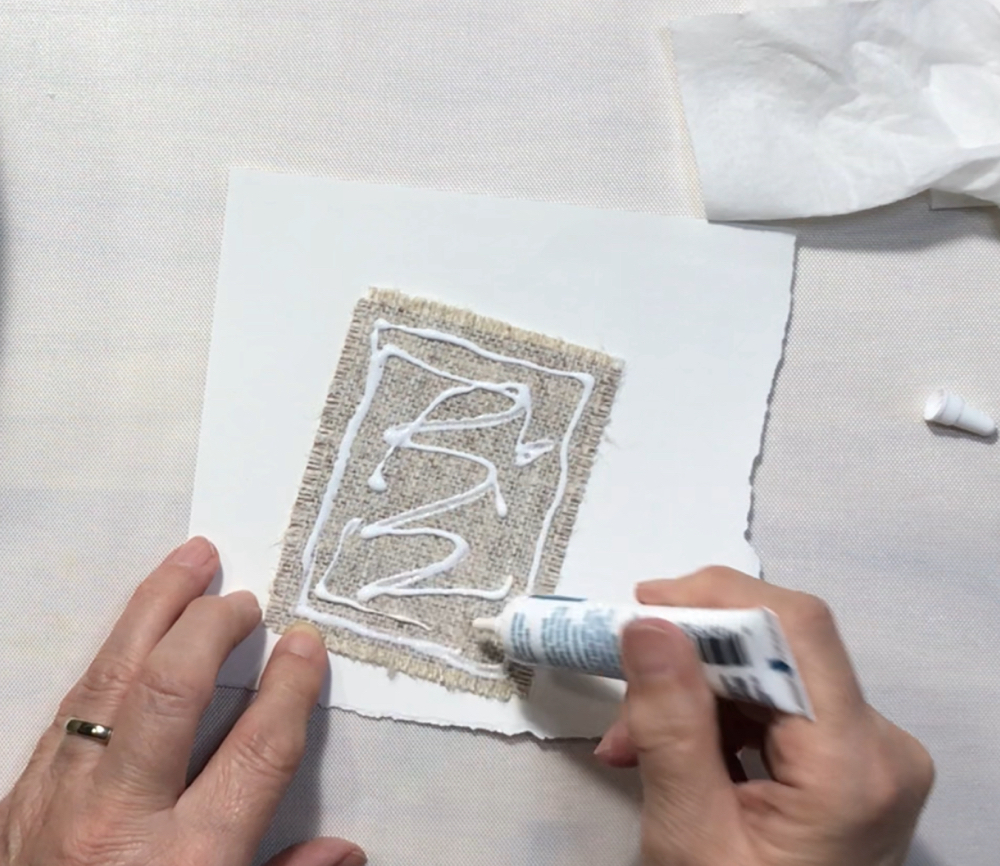
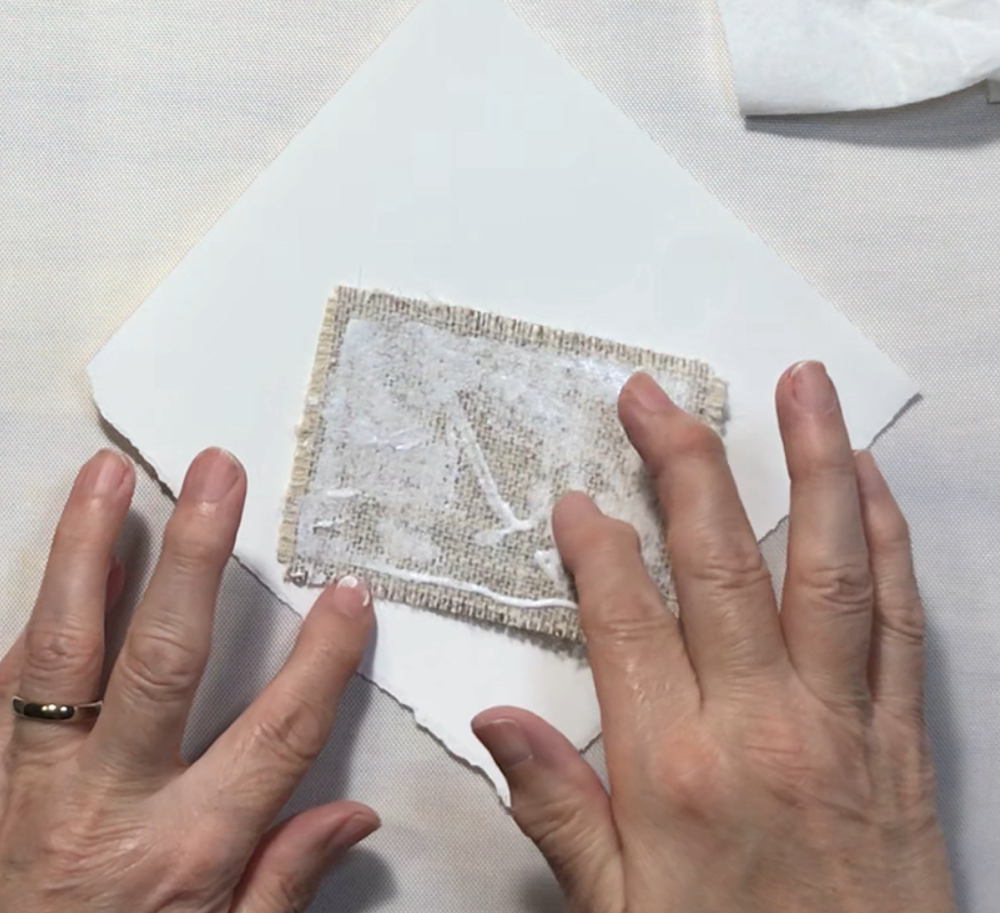
To adhere your dry patch to the hat, add the Liquid Stitch Fabric Adhesive to the back of the fabric. Spread it evenly with your finger, avoiding the frayed edge as best as possible. Apply the patch to your hat and press in place with your hand for a moment or two to ensure proper adhesion. Let the glue dry for a minimum of 30 minutes.
The Finished Hats
Sublimation Hat #1 – Safety Third
The first patch I created was a design request by my husband. He wanted a patch that read Safety Third with a Red Cross on it. After the initial design was created, we made a few adjustments, and the patch design was complete. The font is American Typewriter, and the “x” was designed with a simple shape in Affinity Designer 2.

Hat Patch #2 – Coffee Run
The second hat patch is for me. I am a little bit addicted to coffee, so I thought this patch would be appropriate. I used two different fonts on this design beginning withMonaLisa Smilefor the word Coffee. The font Beauty Smile was used for the word Run. Both fonts are available for download from Creative Fabrica.

Sublimation Hat Patch #3 – Feeling Kind
The third hat patch is for a friend of my husband’s. I won’t go into detail on what it says, but it does fit this guy’s personality well. The image is from an SVG file. Unfortunately, the only portion of the original file I have left is this SVG file. I will continue to look for the original and when and if I find it, will add a link here.

Thank you so much for joining me for today’s How to Sublimate Hat Patches post. I had so much fun creating this project. Along the way I did learn a few important lessons; the most important is to pre-press your fabric. I was honestly surprised how much this shrunk. However, once I finally learned that lesson, the patches sublimated perfectly every time. I do want to create sublimated hat patches with more detailed images, like the peony bouquet shown above. With that in mind, I will be on the lookout for another type of 100% polyester fabric that is not as textured while still allowing for the frayed edges.
Let me know in the comments which hat is your favorite! If you would like to see some of my other sublimation projects, check out this link here: Sublimation Crafts. Until then, have a fantastic week, and I will see you back in the craft room again soon.
Shop For Supplies Here

PIN THIS POST FOR LATER!

I like the one for your husband’s friend 😆
Do you make custom orders?
Me too!! I may have to make one for myself! LOL As for the custom orders, Yes I can do that.