
Welcome back to the craft room and today’s Cricut Snowman Ornaments: Easy Holiday Tutorial Post. I love handmade Christmas ornaments, and our tree shows that off perfectly. Rather than having a tree full of perfectly made purchased ornaments, we have a mish mash of handmade ornaments. They are made by our son throughout his school years, as well as handmade by family members or me. I love how original and full of memories our tree is. Today’s tutorial will add to those memories, let me show you what I made.
The Ornaments
I purchased the ornaments used today a few years ago at an after Christmas sale at Michales. I had a grand plan to use them the next year as gifts for the family. However, as time went on, I forgot what that plan was supposed to be! I did use a few of them last year with the Floating Silhouette Ornaments. They are a nice size at about 3.5” across. I also really like the disk shape rather than just a plain round ornament.
For today’s snowman ornaments, I’m using an SVG file I created. If you’d like to make these ornaments yourself, you can download the free file here: Snowman Twins. I wanted the faces to have a balanced look without covering the entire front, so after measuring, I settled on a width of 2.5 inches. At first, I worried this might be too small, but it turned out to be the perfect size for the design!

Working in Design Space
Now that we know what size to make our file, let’s head into Cricut Design Space. After uploading the SVG go ahead and ungroup the two faces. To resize them to fit your individual design, choose one of the faces, click “edit”, make sure the height and width aspect ratio are locked, and then put in your maximum width size. Repeat this for the second face.

There really isn’t anything else you need to do with this file before cutting it out. I love the simplicity of the design. Let’s go ahead and click “Make It” and choose our mat size. If I am using the same material for several pieces of my design, I like to condense my cutting time by placing as many images as possible onto one mat. To do this, click the three dots above the image you want to move, choose “Move Object”, then select the mat you want to move it to. Arrange the images onto the second mat so you have room for your material, and you are ready to go.

For today’s project I am using my favorite permanent vinyl, Oracal 651 in both black and orange. This vinyl cuts perfectly for me on the “Premium Vinyl” setting at the default pressure. Make sure you choose the setting that works best for your material and machine.

Making the Snowman Ornaments
Snowman #1
Now comes the fun part of any project, making the ornaments. Before I begin, I like to clean the surface of the ornament with a little bit of isopropyl alcohol and a soft cloth. After weeding the vinyl with my Pin Pen Weeding Tool from 143Vinyl I cut a small piece of Medium Tack Transfer tape, also from 143vinyl, just a little larger than my design. I will be using the same piece of transfer tape for both ornaments. After covering the eyes and mouth design with the transfer tape, use your Cricut scraper tool and burnish it well on the front as well as the back of the carrier sheet. Gently peel the carrier sheet away from the transfer tape, going slow to ensure the vinyl is left on the tape.

After aligning the design on my ornament and placing the eyes, I realized I’d misjudged the surface. While the ornament isn’t perfectly round, the slight curve made applying a flat design trickier than expected. Thankfully, the snowman’s smile hadn’t adhered to the plastic yet. I was able to carefully lift the transfer tape and adjust the placement for a better fit.
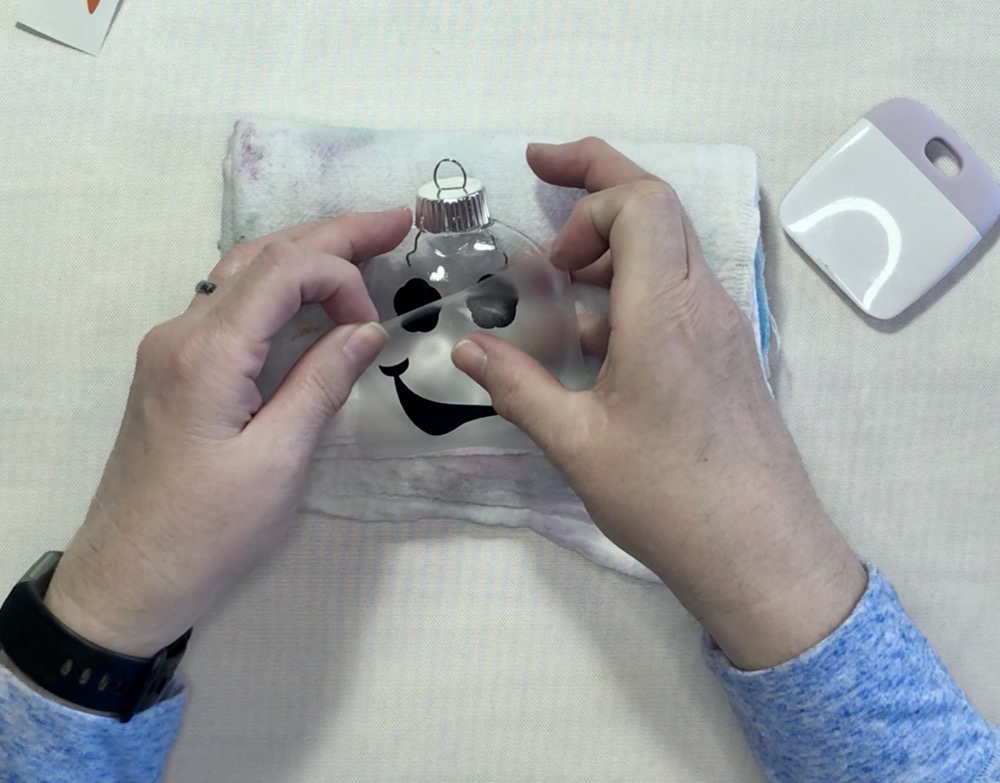
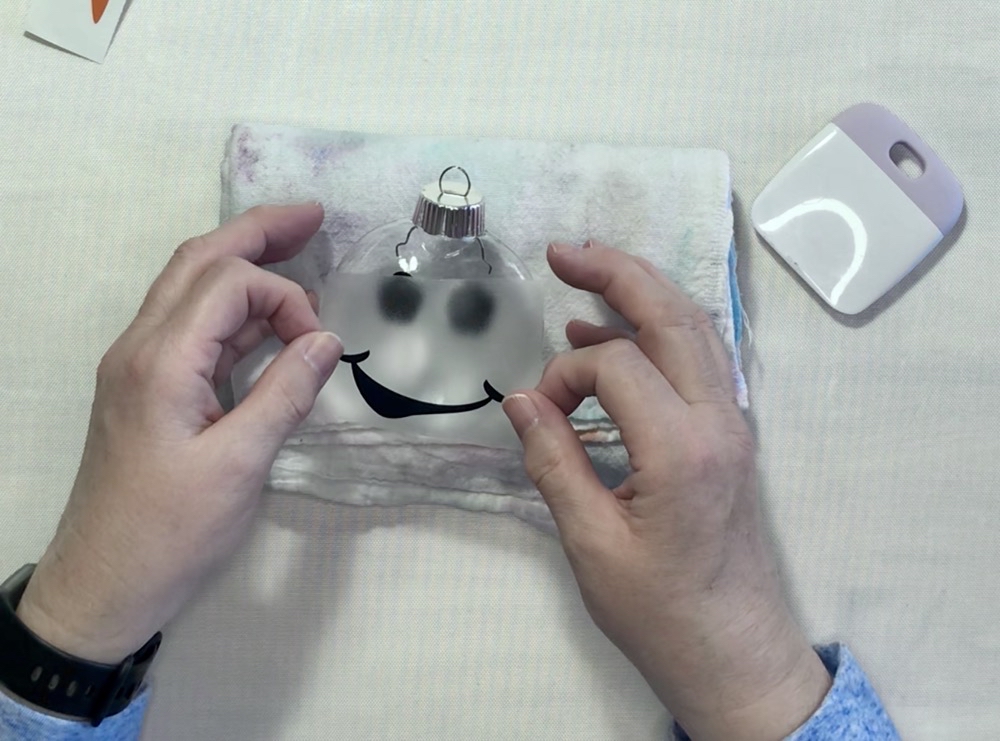
Because of the odd placement of the smile, the carrot nose no longer fit into the design like it was supposed to. Because of this, the end of the carrot was placed over the corner of the snowman’s mouth. It’s not a bad look, but not what I wanted.

Snowman #2
Because I didn’t like the way the first ornament went together, I made a few adjustments for the second. Rather than try to place the mouth and eyes on at the same time, I cut them apart and worked from the top of the face to the bottom. Beginning with the eyes, I placed them on the ornament. I then added the carrot nose and finally fit the smile into place. It may not be in the exact location of the original SVG, but it fits the ornament shape perfectly. As I mentioned in the attached YouTube video, it the placement is a little off on the funny snowman face, it’s no big deal, and adds to their individual character.

Finishing the Ornaments
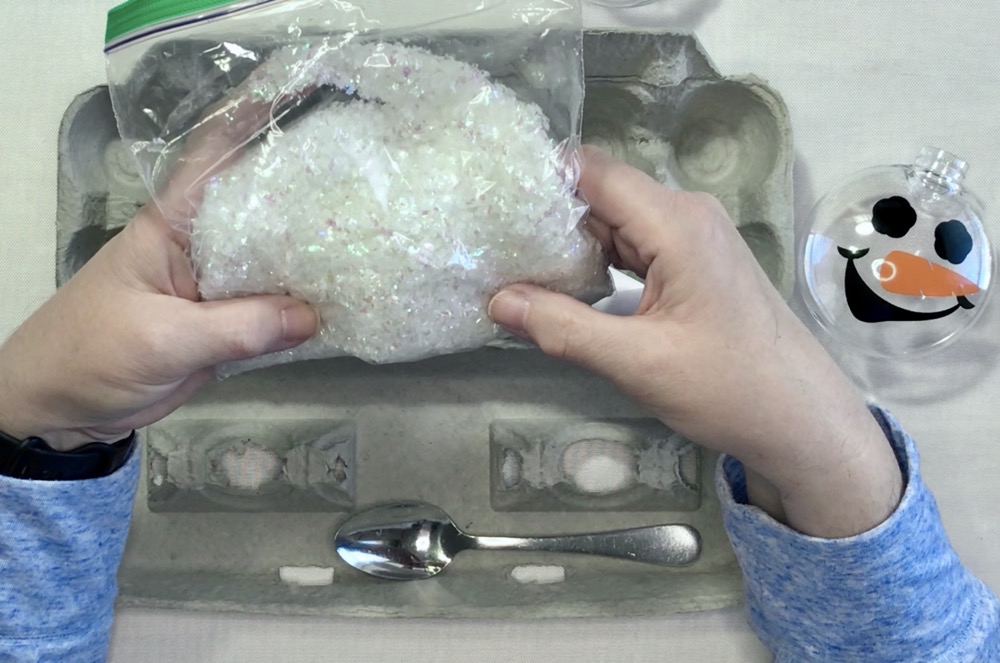
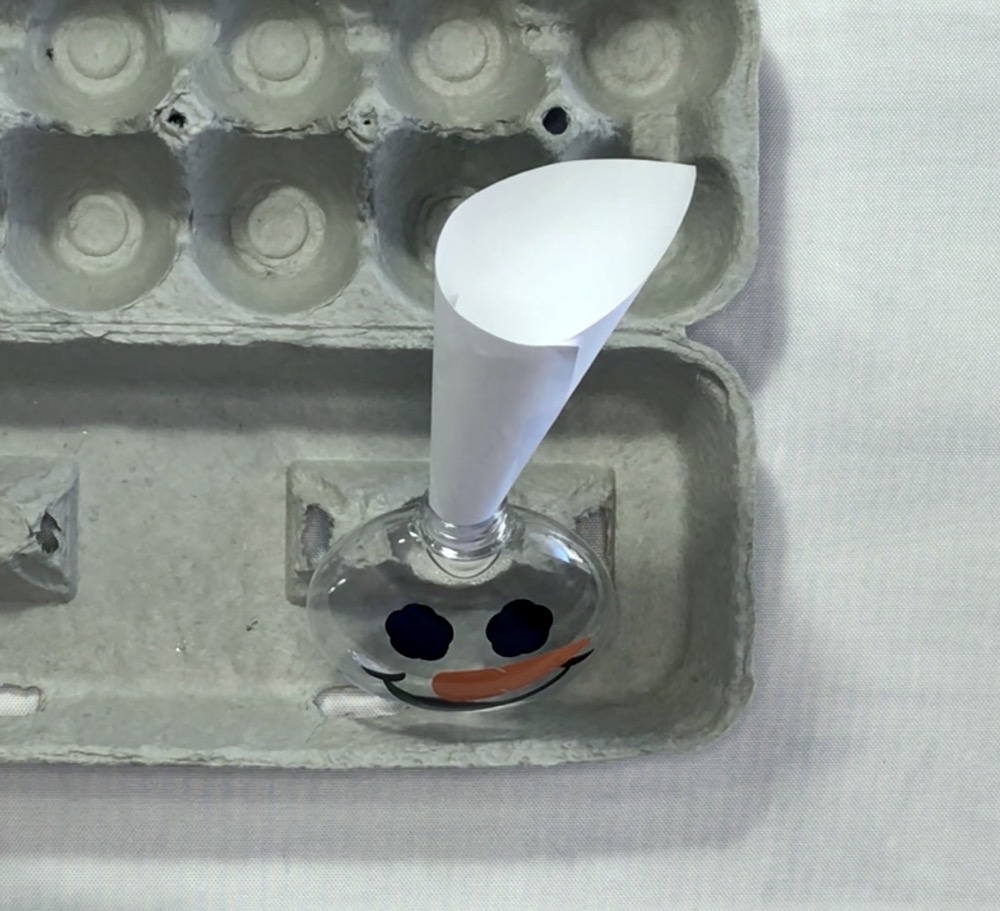
To add a little bit of extra flair to these adorable ornaments I dug around and found the fake snow I purchased last year. I thought adding some of this white, shiny bit of fun would be a nice addition. To keep the ornament in a more upright position, I set it in the lid of an egg carton. A simple funnel was made with a piece of scrap paper, and I spooned some of the snow into the ornament with a kitchen spoon. I think the added sparkle is the perfect ending note for these snowmen.
The Finished Snowman Ornaments

Thank you so much for joining me for today’s Cricut Snowman Ornaments: Easy Holiday Tutorial post. Even though I’m not 100% pleased with the first one, they both turned out adorable! I hope this inspires you to create your own festive ornaments this season. What holiday projects are you working on with your Cricut? I’d love to hear about your ideas or see your creations—feel free to share in the comments below! Until then, have a fantastic week and I will see you back in the craft room real soon!
Shop for Supplies Here

PIN THIS POST FOR LATER!
