
Welcome back to the craft room and today’s I Need a Wedding Card Mr and Mrs post. Do you have a wedding on the horizon and want to create a card that is both unique and heartfelt? Today I’m going to show you how to design a gorgeous card with my newest Free SVG file. This tutorial is perfect for those that love to combine digital designs with handmade touches. Let’s dive in and create a card that the happy couple will cherish forever.
Mr and Mrs SVG File
When I designed this file, CL_MrMrs_Wedding.svg, I wanted it to be the main focus of the card design. Coming in at 3.375 x 2.25, it is the perfect main element to the card. After downloading the file to your computer, upload it into Cricut Design Space, or the software of your choice. You will see there are three elements in the file, two of the Mr & Mrs and an additional ampersand (&).

In the following images I will show you some of the options you have with colors when cutting the file. For illustration purposes only, I am showing a card base and front to show the scale of the die cut image. To make a very basic card, you could use one color to cut the Mr & Mrs and have a lovely design.

If you wanted to step it up a bit and have a two-color design, you could cut the Mr & Mrs in one color and then cut the additional ampersand in a second color as shown below.

Another option for a two-color design; cut the Mr & Mrs in two different colors. When gluing them together, offset the top layer so the base color shows just a bit.

One last option you have is a three-color design. Begin by cutting the Mr & Mrs in two different colors. Then, with the third color, cut the ampersand and layer that over the design as shown below.

Paper Choices
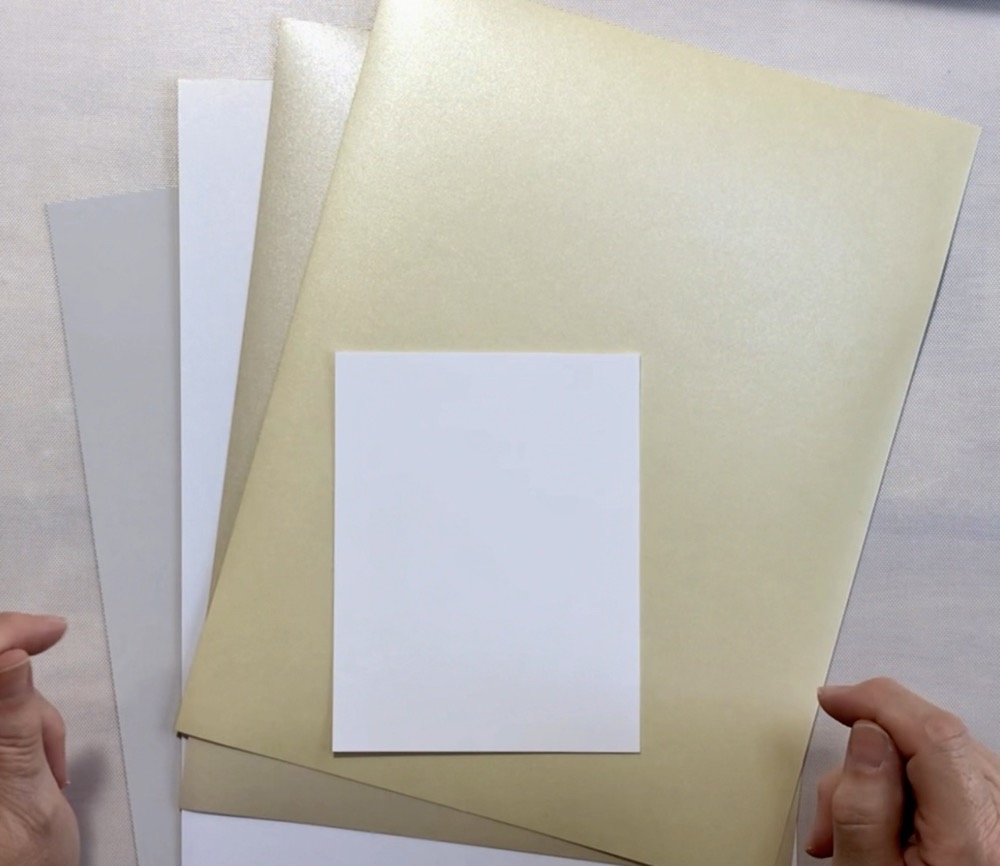
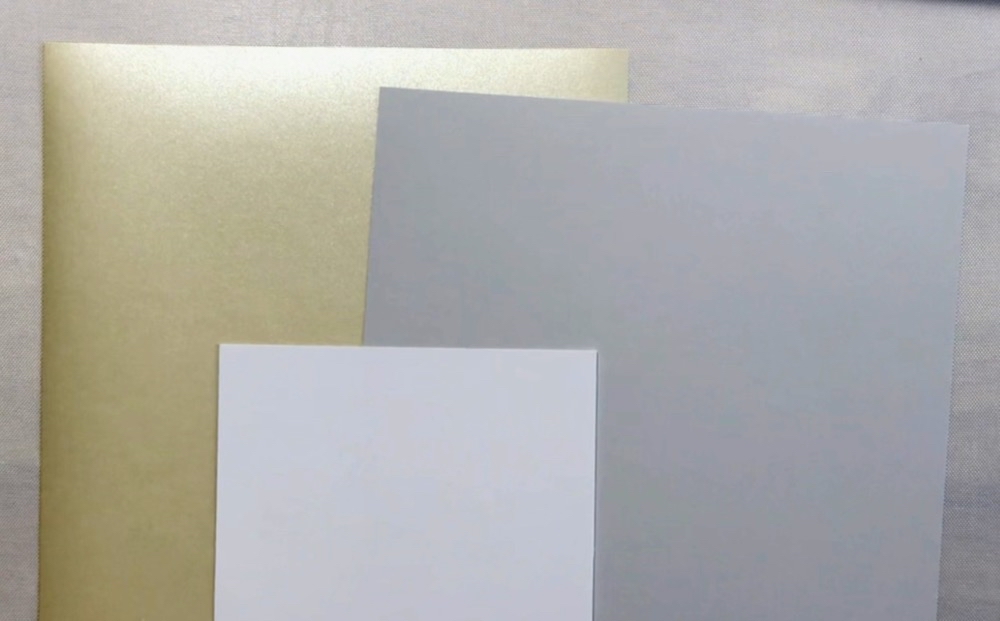
Before we cut our design, we need to make some paper choices. The card base will be 110lb white card from Recollections that is cut to 8.5” x 5.5” with the score line at 4.25”. This will give us an A2 size card with a finished measurement of 4.25” x 5.5”. I have decided to create a two-color design, so I will need to choose an additional color card for the mat layer. While rummaging through my paper supply, I found four different options shown below. Starting from left to right in the first image they are Classic Crest Antique Gray, a gold shimmer card from Tuesday Morning, and both the silver and champagne shimmer card from Recollections. After comparing the colors to the white Recollections card, I narrowed it down to the champagne shimmer card and the antique gray.
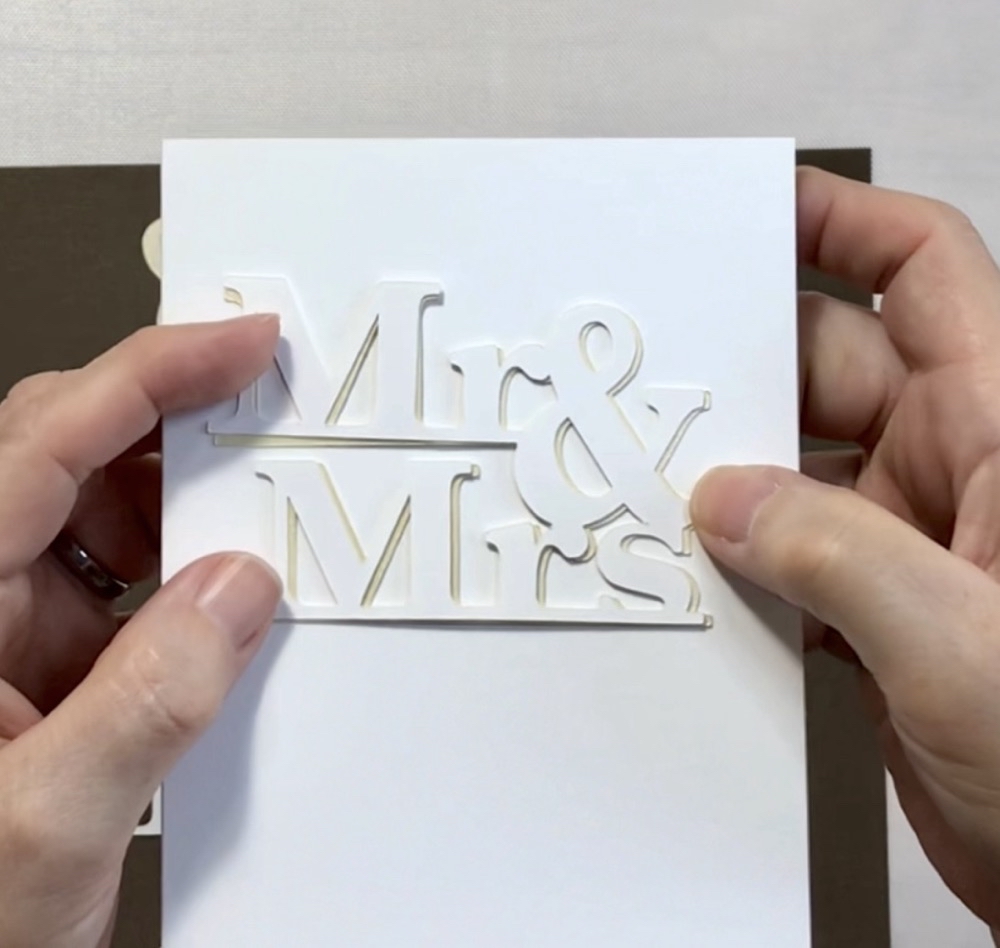
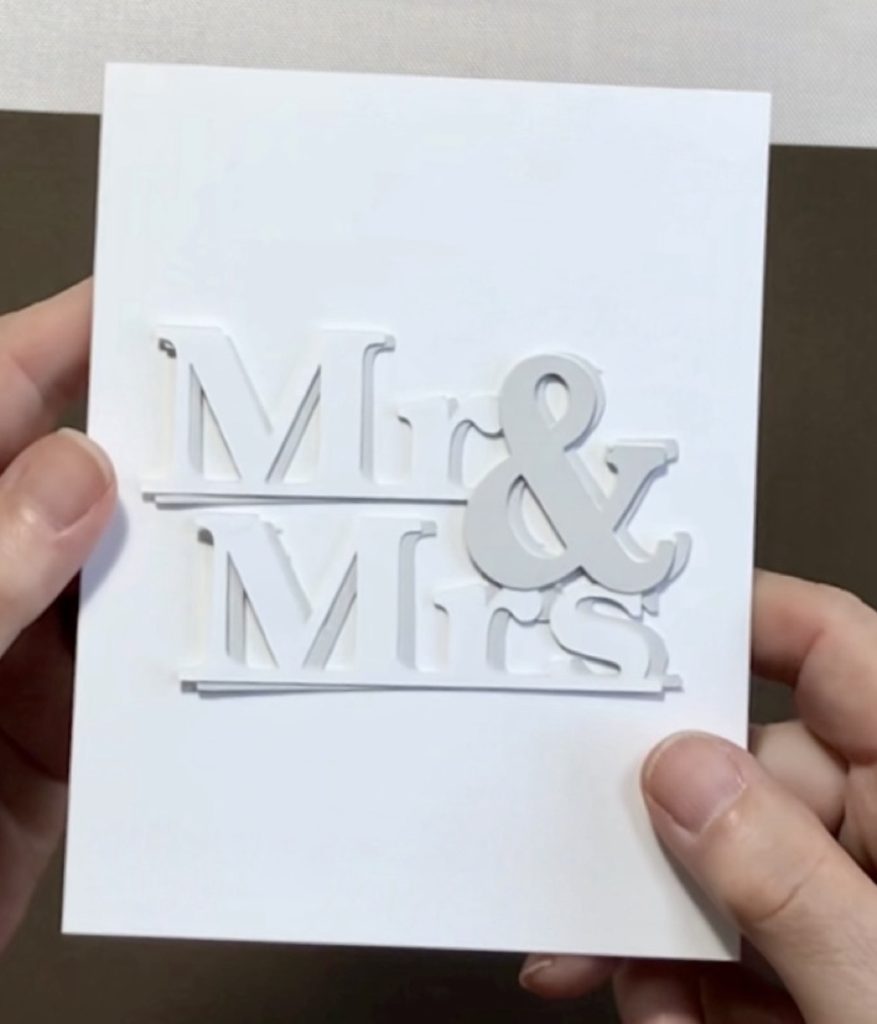
To make my final decision, I cut the SVG from both of the papers and lined them up with the top white layer. Unfortunately, neither of these colors made me happy. While they are still pretty, they just didn’t match the idea in my mind for this card. So, I walked away from the project for a while to consider my other options.
Mr & Mrs Take Two
After going through my card stock collection, I decided to use a piece of Recollections Gray Kraft card. While it is a nice shadow color, it is not as stark as a black card would be. This ended up being the best choice for today’s project.

To create the shadow for the design, the top layer of white card was offset to the left before gluing into place with Art Glitter Glue. I used my acrylic centering ruler from Club Scrap to ensure the bottom of both layers were lined up correctly.

To add a bit of interest to the rest of the card front, I added some score lines to the center and bottom of the panel. I began by adding a horizontal line 2 1/4” up from the bottom of the panel. From there, I added score lines from the bottom of the panel to the original score line every 1/4”.
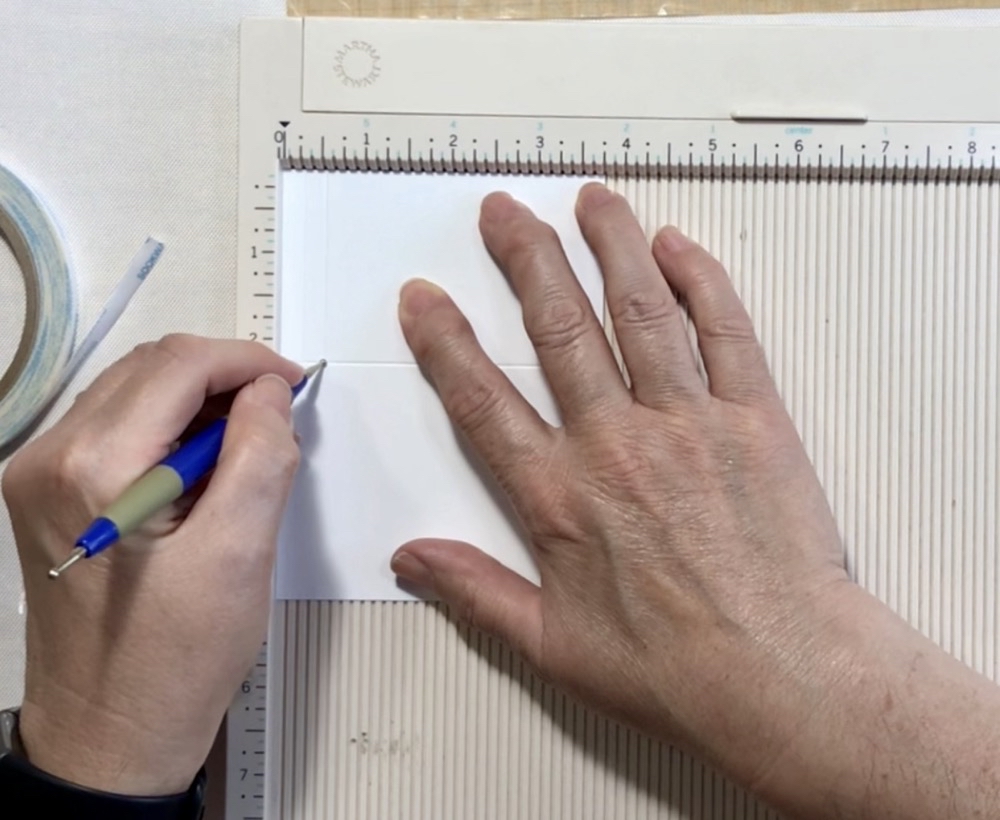
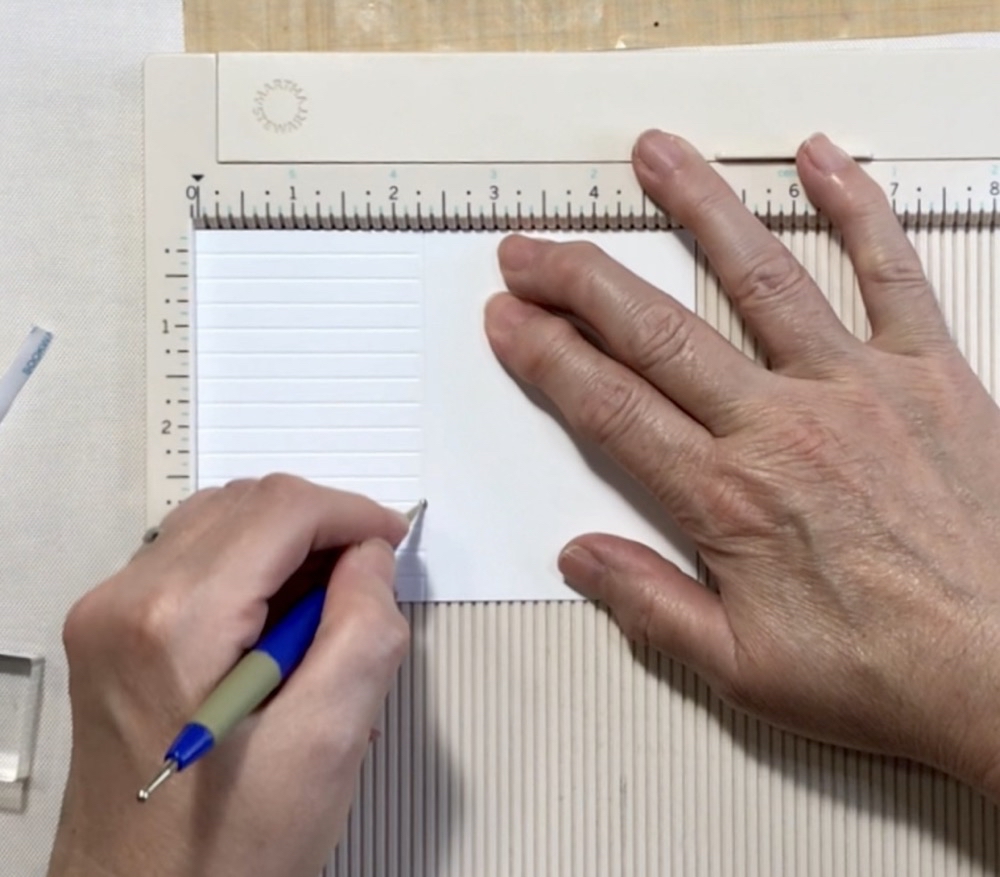
To finish putting today’s wedding card together, I began by adhering a piece of the Gray Kraft card cut to 4” x 5.25” to the card base with scor-tape. Before adding the card front, I glued the finished SVG to the front panel with more art glitter glue.
The Mr & Mrs Wedding Card
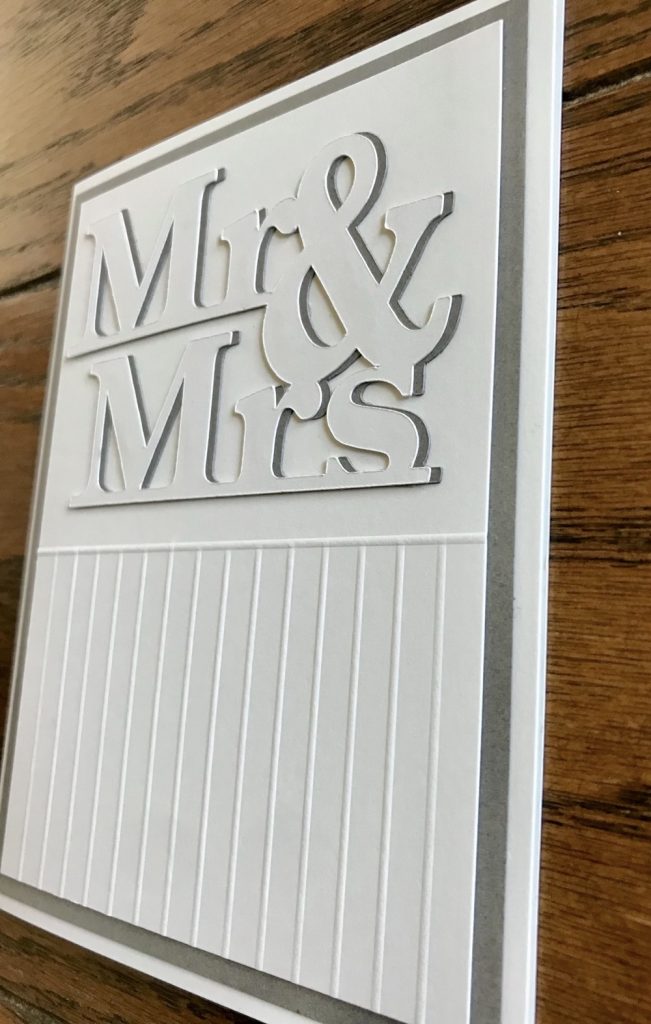
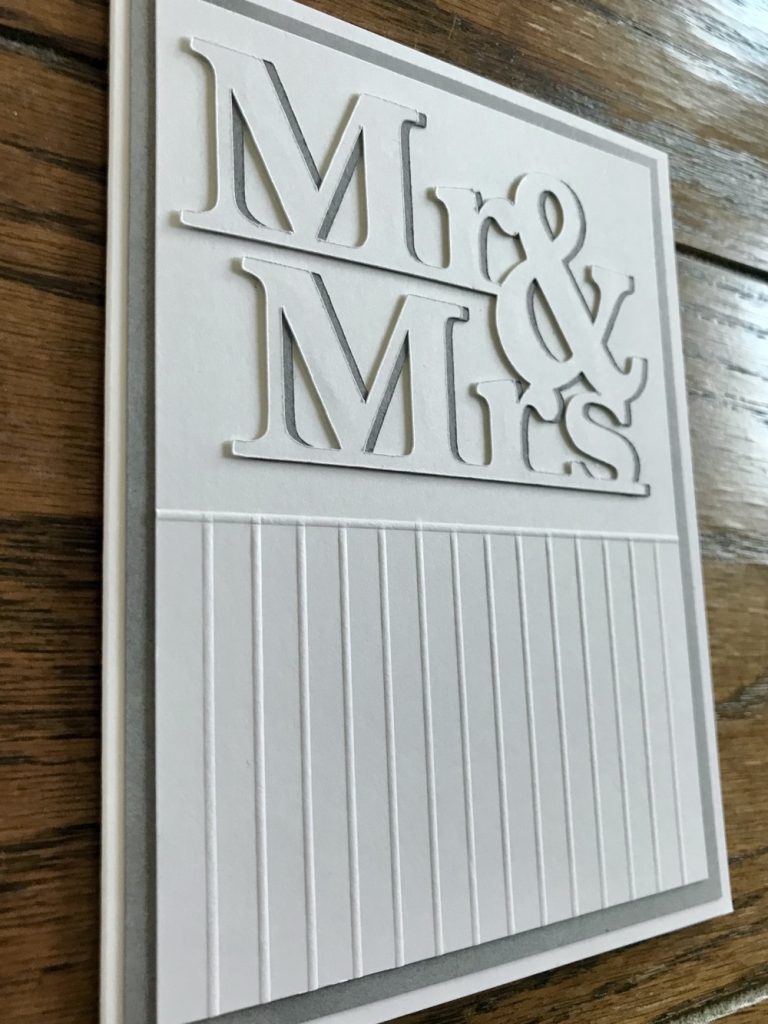
Even though my initial color choices didn’t pan out, I really love how this card came together. The darker gray color of the mat layers, as well as the score lines, add nice a visual element to the card.

Here are a few more pictures from the side to show a little bit of dimension as well as a better view of the score lines.
For the majority of my cards that need a special sentiment on the inside, I typically turn to the internet for inspiration. Today’s card is no exception. I found the perfect sentiment on the web page, 200 Best Wedding Wishes from goodhousekeeping.com.
Thank you so much for joining me for today’s I Need a Wedding Card Mr and Mrs post. This was such a fun design to create. The SVG file, while created as wedding card, would also make a great anniversary card as well. What do you think of the card? Do you like either of the original colors better than the gray? Let me know in the comments below. Until then, have a fantastic week and I will see you back in the craft room again soon.
Shop for Supplies Here

PIN THIS POST FOR LATER
