
Welcome back to the craft room and today’s Pop-Up Easter Cross Card Tutorial post.Over the last few weeks, I’ve been battling a horrible cold. The cough (which is still hanging on!) was so relentless that I couldn’t do much besides scroll through YouTube and Pinterest. But the silver lining? I found tons of inspiration—especially on Pinterest—and today I’m excited to share one of those ideas with you: the Pop-Up Cross Card.
The original design is already beautiful, but I made a few small tweaks to better fit my crafting style, and I’ll point those out along the way. At the end of this post, I’ll also show you a few variations using the same pop-up element—minus the cross—if you’re looking for something a little different. Let’s get right to the card, shall we?
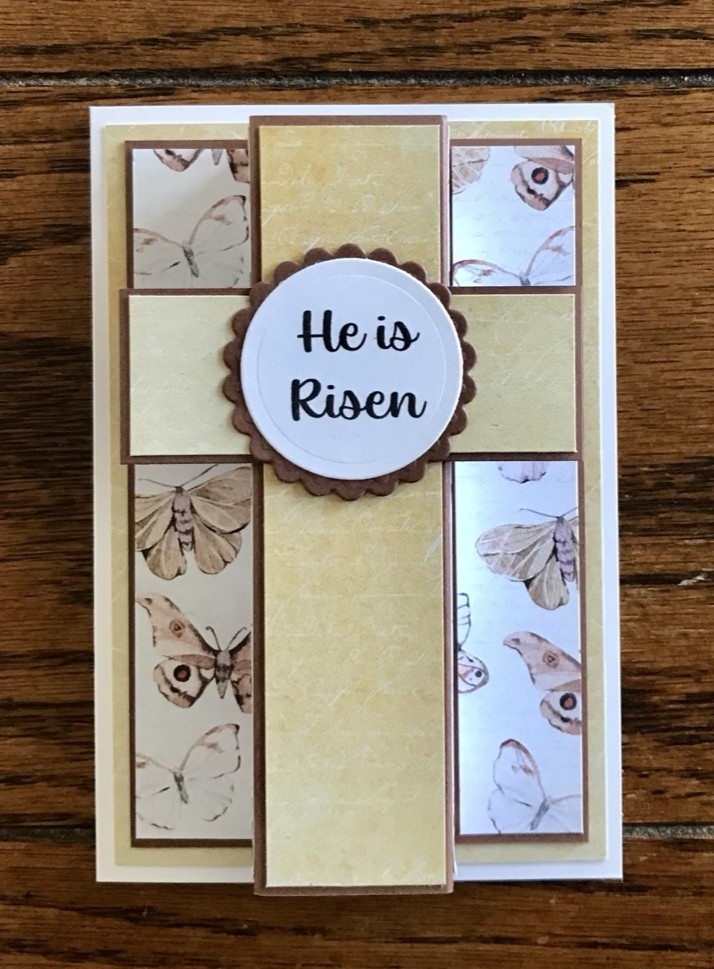
My Test Pop-up Easter Cross Card
While I was still under the weather, I made this test card using the original design I found on Pinterest. I’m not sure who the original creator is, but I followed the tutorial in this video: Faith Collection Easter Card Stampin’ Up!

Pop-up Element
The pop-up element is where I made my first adjustment to the original design. Since I wanted to add a patterned paper or colored cardstock mat to the front of my card, I trimmed the pop-up piece down to 5″ x 5″. This is the only major change I made to the original pattern.
To create the pop-up mechanism, score the 5″ x 5″ square at 1″, 1 7/8″, 3 1/8″, and 4″.

Next, fold and crease the score lines using your Teflon bone folder for crisp edges. The easiest way to approach the folding is to start from either side:
- Begin with a valley fold—fold the edge toward the front of the panel.
- Then make two mountain folds—both folded toward the back.
- Finally, finish with another valley fold toward the front.
Once folded, your piece should look like the image below.

Pattern Paper
The next step is cutting and adding the patterned paper. In the original design, a cardstock mat was placed under the patterned layer. I chose to skip the mat this time since there’s already enough contrast between my patterned paper and the card base.
I’m using paper from the Always and Forever 6″ x 8″ pad by P13—it’s wonderfully thick and double-sided, which I love! I picked two coordinating patterns and cut them as follows:
- Outer flaps cut two at: 7/8″ x 4 7/8″
- Sides of the pop-up cut two at: 3/4″ x 4 7/8″
- Center of the Cross cut to 1 1/8″ x 4 7/8″
For the cross arm, cut a piece of your base cardstock to 1 1/8″ x 3″, and your patterned paper to 1″ x 2 7/8″. The photo below shows how to position these pieces on the pop-up element. For today’s project, I used Art Glitter Glue to adhere the patterned paper, leaving a very small margin all the way around for a clean, framed look.

The Sentiment
Of all the sentiment stamps I own, I realized I don’t have any specifically for the Easter season. So for today’s card, I decided to print my sentiment on the computer. I used the Baguet Script font that came with my version of Word, keeping the text fairly small so it would fit nicely in the center of the cross.
I then cut the sentiment using a Nestabilities circle die, and created a mat for it using a Nestabilities scalloped circle die for a sweet layered look.

Adding the Pop-up Element to the Card Base
The Card Base
In the original design, the pop-up element is adhered directly to a cardstock base. A separate piece of light-colored paper added to the back for the sentiment and personal message. For my version, I decided to create a traditional card base instead. This not only gives me more space to write a message inside, but also adds extra stability for displaying the card.
I cut my base from 110lb Recollections white cardstock. It measures 5 1/2″ x 7 1/2″, and scored it down the center at 3 3/4″. For the front panel, I used the same pattern paper as the cross for the mat layer. It is cut a mat to 3 1/2″ x 3 1/4″ to fit the card front.
Putting it all together
To adhere the pop-up element to the card base, I used a combination of score tape and Art Glitter Glue. The score tape provides strong adhesion, while the glue allows me to make small adjustments if needed. After applying tape to both outer flaps, remove the backing from the left side and add a the glue.

To attach the pop-up element to the card front, I carefully folded the right side of the element, as shown in the image below. This step gives me the opportunity to perfectly align the right side of the element with the card base. Once this side is in place, press down the left panel to adhere it securely to the card base.
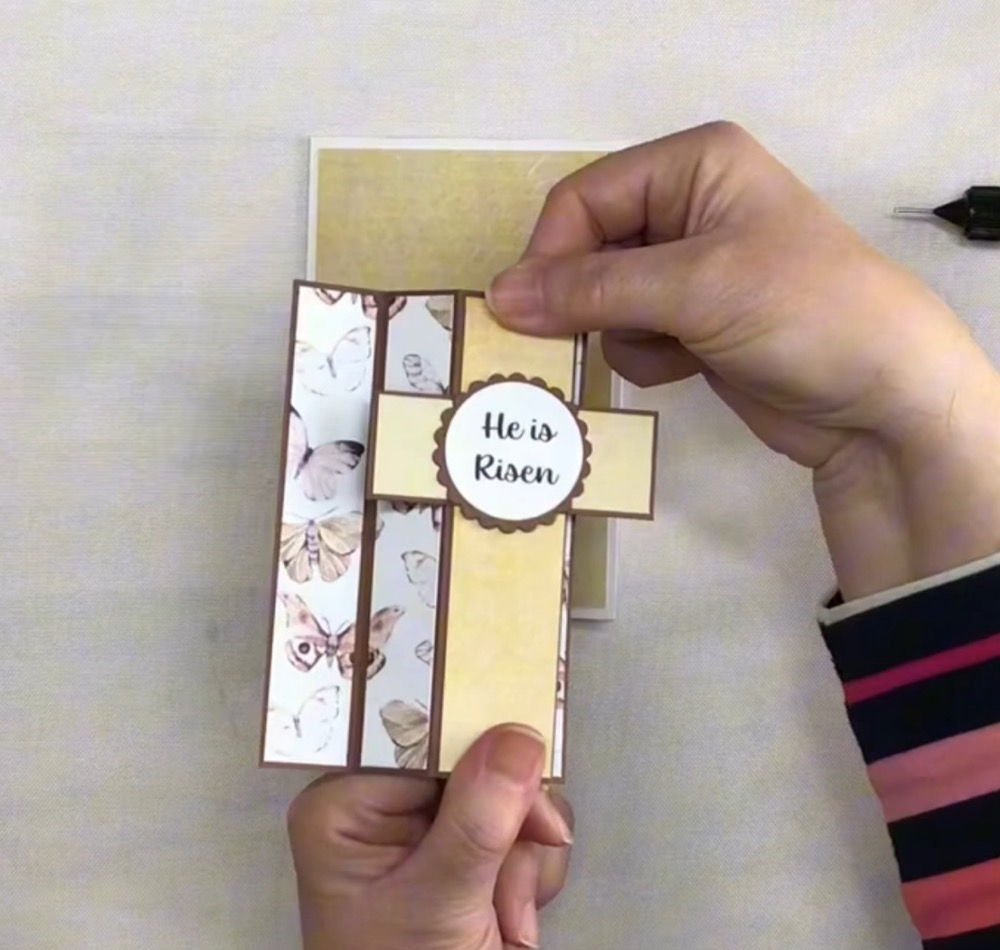

Once the adhesive has had time to set, lift the right side of the panel to remove the tape backing and add the glue. Carefully fold the card panel to the left, making sure everything is aligned correctly before pressing the right flap into place.

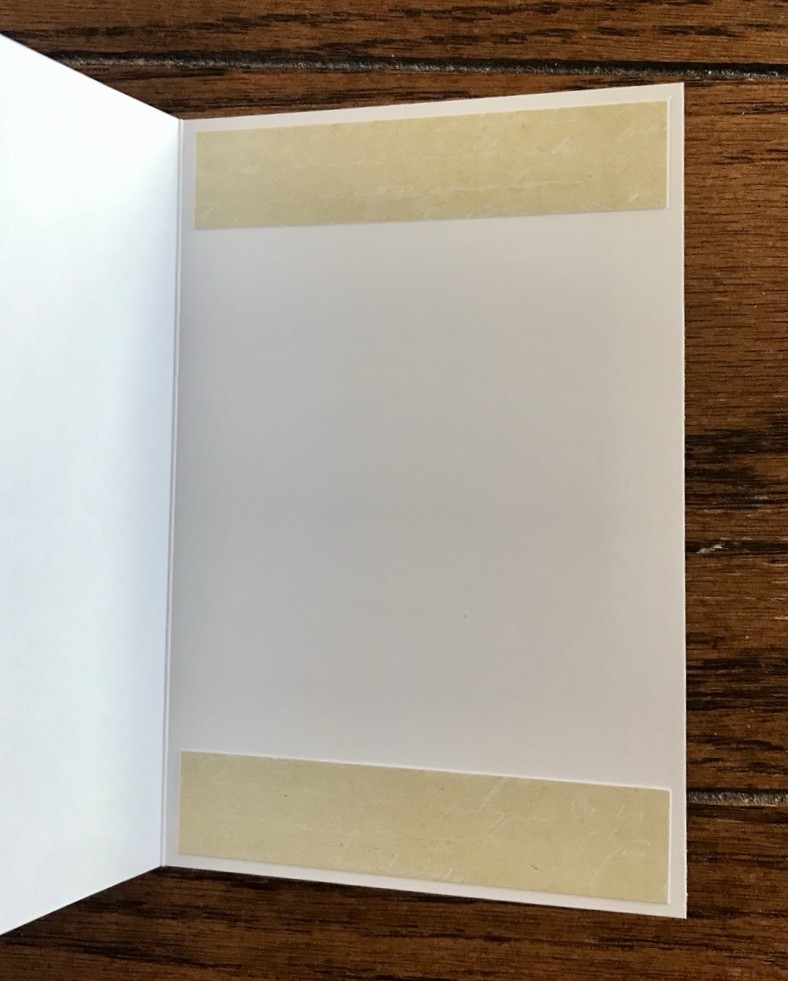
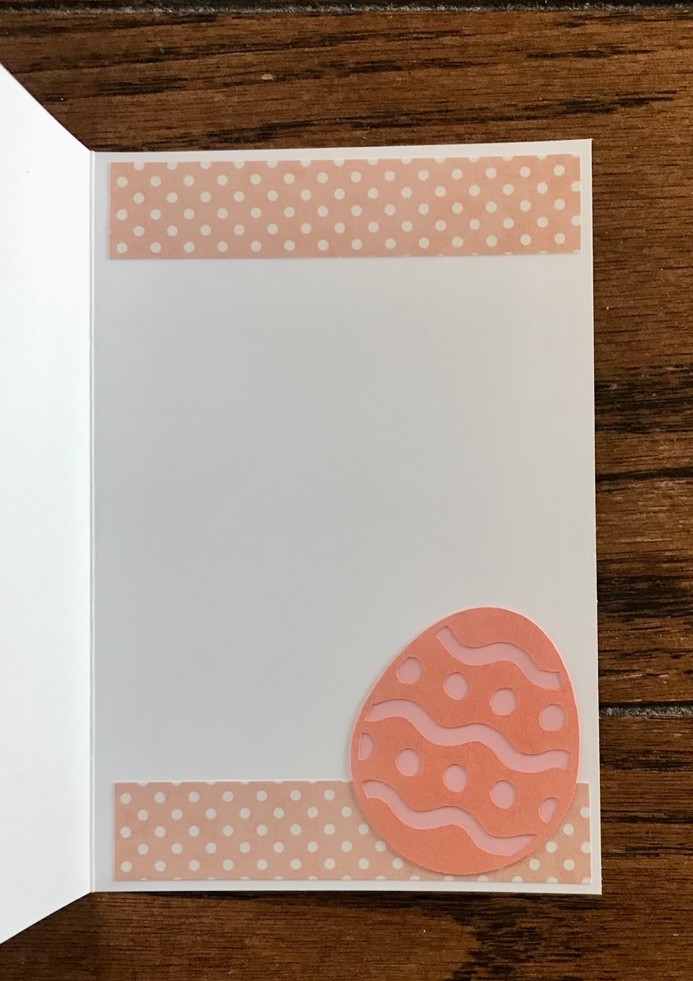
To finish the card, I added two small pieces of patterned paper to the inside for a coordinated look.
Pop-Up Easter Cross Card Options
What I love most about this card is the versatility of the design. Whether you use it on a full-sized A2 card base or adapt it for a different occasion, the possibilities are endless. Let me show you a few ways I’ve used this pop-up element in other projects.
Option #1
After discovering this card design on Pinterest, I also came across a version where the pop-up element was placed on an A2-sized card base. While the original measurements for the pop-up remain the same, an additional mat was added to “fill in” the card front for a more polished look. You can check out the video from Get Crafty with Sally here: Easter Pop-Up Cross Card Part 2 – Creating this card on an A2 card base.
Unfortunately, I don’t own a lace edge die that would fit the space for this card design. However, I created two mats and used my Fiskars scallop edge punch to add some detail. To stay with the Easter theme, I found this adorable Happy Easter Bunny SVG on Creative Fabrica. While the original design is a cake topper, I resized it to 3 1/8″ wide to fit the card. The patterned paper is from the Petite Floral paper pad by Recollections.

Option #2
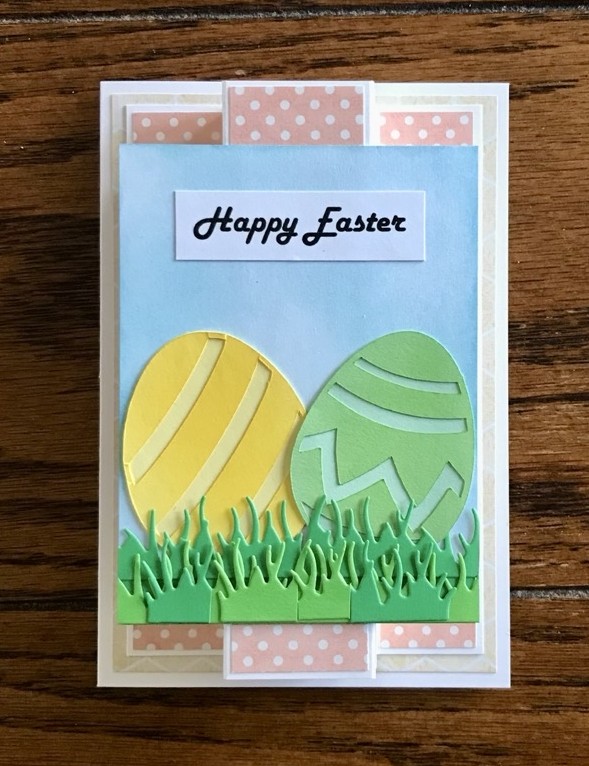
This is another fun Easter card with a finished size of 5 1/2″ x 3 3/4″. The sentiment panel is blended with Broken China Distress Ink and measures 3″ x 4″. I found three different egg patterns in Cricut Design Space and cut them using my Cricut Explore Air 2. For the top layers of the eggs, I added corresponding Distress Inks—Mowed Lawn, Picked Raspberry, and Mustard Seed—to create a bit of visual contrast.
The grass was die-cut from two shades of green cardstock using the Forest Landscape Add-on Dies from This Calls for Confetti. The sentiment, printed on the computer, uses the Harlow Solid Italic font. The patterned paper comes from the Papercraft Inspirations bonus gift Love Story set.
Option #3
The next option demonstrates how versatile this pop-up design can be for any occasion. In this case, I used it to create a birthday card. The sentiment is, once again, printed from the computer using the Cochcib Script Latin Pro font from Microsoft Word. Before cutting out the sentiment and mat with the Nestabilities Oval die, I stamped the Altenew Flower Delight stamp. It was then colored with Prismacolor Pencils.
For the flowers, I used Mulberry and Spanish Orange, while the leaves were colored with Olive Green. To fill in the shapes, I blended the colors using Gamsol. The patterned paper I used is from the Primrose paper pad by DCWV.

Option #4
While gathering all the links for this post and video, I came across another version of this beautiful Pop-up Easter Cross card. Susie Wood from Stamp with Susie took the original measurements for the pop-up element and made slight adjustments so it would fit perfectly on an A2-sized card. I decided to give this version a try and absolutely love how it looks with fewer layers compared to the original design.

As you can see in the image below, all of these cards stand up beautifully. Even though they’re slightly front-heavy, the addition of the regular card base ensures they can be displayed perfectly.

Thank you so much for joining me for today’s Pop-Up Easter Cross Card Tutorial post. I hope you enjoyed seeing the different design options and variations. Whether you’re creating for Easter, a birthday, or any other occasion, this pop-up element can be customized to fit your needs. Which design would you choose to try first? I’d love to hear your thoughts in the comments below! If you’re interested in seeing more of my Easter projects, be sure to check out this link here: Easter. Have a wonderful week and I will see you back in the craft room again soon!
Shop For Supplies Here

PIN THIS POST FOR LATER!
