
Welcome back to the craft room and today’s Simple Metal and Vinyl Christmas Ornaments post. With the holiday season approaching, it’s the perfect time to add fresh, handmade ornaments to the tree. For this project, I’ll be working with round galvanized metal ornaments I picked up last year but never had a chance to use. I’ll also be using SVG files from Creative Fabrica, along with two of my own designs. You’ll find everything you need listed below, including links to my ornament designs. Let’s get started and jump into the fun!
The Designs
Before diving into the project, let me show you the designs I selected. While I knew two of my own designs would take center stage, it took some time to find the additional files to complement them. In the image below, you can see the final designs I chose. The snowman and deer silhouettes are custom creations, combining a few images from Creative Fabrica. You can download these free files here: Snowman & Deer Silhouettes. For the date on the back of each ornament, I used two fonts: Vintage Mother for the year and the flourish from Amastery Extras. Links to both fonts and the additional ornaments are included at the end of this post.

Cricut Design Space Edits
When you upload the designs into Cricut Design Space, you’ll notice they come in quite large. They were created to fit either small ornaments or larger wood rounds. For today’s project, I’m using 3.5-inch round ornaments, with the hole positioned about 0.25 inches from the edge. I decided to resize the designs to 3.38 inches to fit perfectly.
In the image below, you’ll notice grey circles and squares around my designs—these are my weeding boxes. The ornament designs are attached to 3.75-inch circles, while the year and decorative flourish are set within a box slightly over 2 inches. Instead of allowing the software to arrange my images on the cutting mat, I positioned them manually. This way, I can add extra space around each image, which just feels right for me. All the images shown below were attached and cut on one mat, while the remaining images were cut on a second mat.

Unfortunately, I ran into some major issues while cutting the intricate ornament designs from Oracal 651 permanent vinyl. In the photo below, you can see how my Cricut blade picked up and dragged the letters, leaving them unusable. Despite my best efforts, there was no way to salvage these cuts. Interestingly, the year, along with the delicate evergreen and deer antlers, cut without any trouble. This left me questioning if my one-year-old blade might be nearing the end of its lifespan. At that point, I decided to proceed with the two images that had cut successfully.

Applying the Vinyl
After cutting my design apart with a pair of 9.5” Tim Holtz and Tonic Studio scissors, I trimmed two pieces of Medium Tack Transfer tape from 143Vinyl to fit. Once the transfer tape was applied to the design, I burnished it thoroughly on both sides with my Siser EasySqueegee to ensure the vinyl adhered well. While some creators pull the transfer tape and vinyl away from the backing paper, the correct technique is to peel the backing paper away from the transfer tape. This approach gives you a better view to make sure all of the vinyl lifts cleanly.

If you’re new to the blog, you might not know that I’ve primarily worked with Heat Transfer Vinyl rather than permanent vinyl. My first few projects with permanent vinyl didn’t go smoothly due to placement challenges. It took me some time to fully embrace using parchment paper to aid in precise placement, but it made this project so much easier! I had tried this method before, but the printing on my previous parchment paper caused issues. Today, with blank parchment paper, I was able to focus solely on positioning the vinyl, making the process much smoother.
The first step before applying the vinyl was to thoroughly clean the ornaments with isopropyl alcohol and a soft cloth. I started with the back of the ornament. As you can see in the image below, I placed a piece of parchment paper over most of the ornament, leaving a small area of exposed metal at the bottom. This allowed me to position the design exactly where I wanted without risking the vinyl sticking in the wrong spot. Once I was happy with the placement, I pressed the transfer tape onto the bare metal, creating a hinge. This hinge let me lift the transfer tape, remove the parchment paper, and keep the design in perfect position.

After burnishing the vinyl onto the ornament with both my squeegee and fingers, I carefully began peeling off the transfer tape. This step is always done slowly and at an angle to ensure none of the vinyl lifts up. If you notice any vinyl pulling up with the tape, simply lay it back down and burnish it a bit more. The vinyl on this side adhered smoothly, but the front was a different story—I had to re-burnish several areas to get a secure stick.


My Simple Metal and Vinyl Ornaments
To finish off the ornaments, I added a bit of twine by Ashland. While I can’t recall if I purchased it from Michaels or Hobby Lobby, it’s a thinner twine than what originally came with the ornaments, adding a lovely rustic touch to the final look.


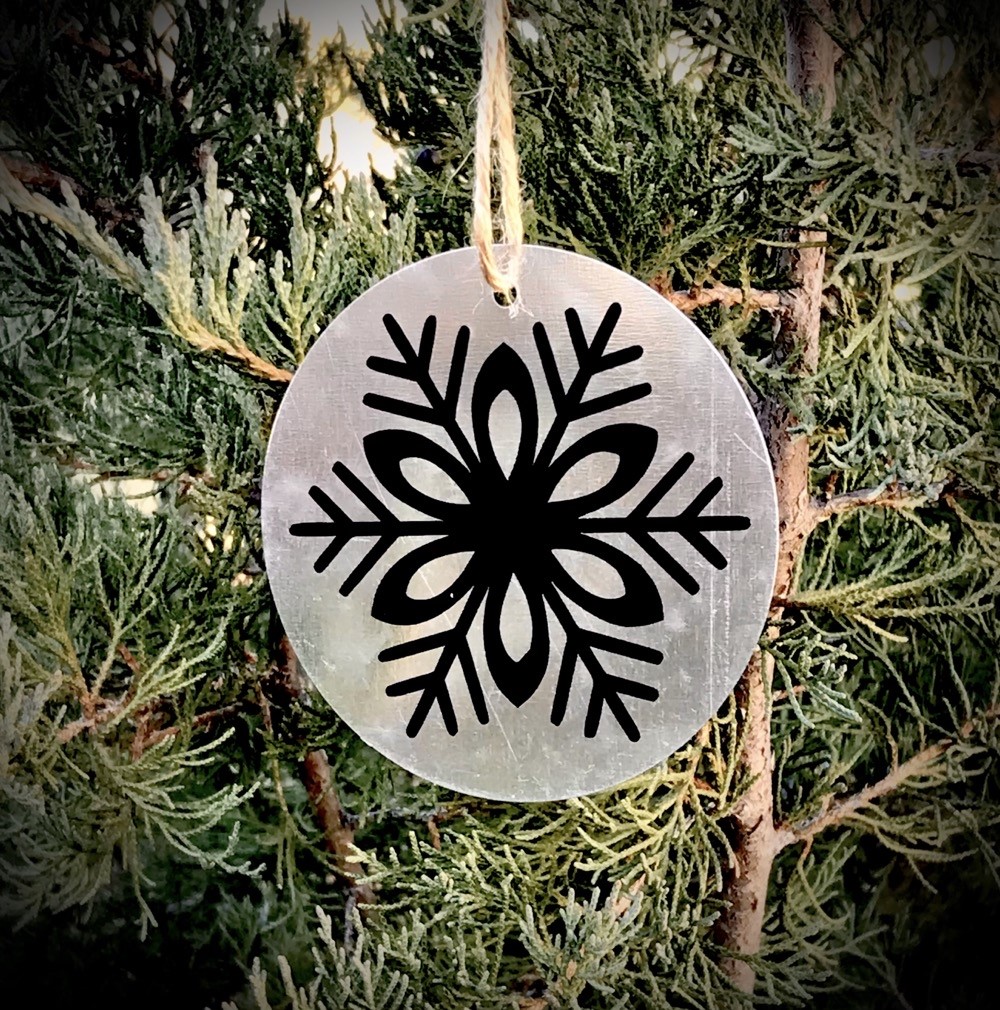
I didn’t want to finish the day with only two completed ornaments, so I decided to re-cut the original snowflake design shown above. Then, it was back to Creative Fabrica to find a few more files. Of the two new designs I loved, only one cut well enough to use. This ‘Santa Cam’ ornament turned out adorable! I used Oracal 651 permanent vinyl in Purple Red for the text.

Each ornament has the year and flourish on the back, adding a fun little reminder for me—and for anyone I might gift one to this holiday season.


Thank you so much for joining me for today’s Simple Metal and Vinyl Christmas Ornaments post! Though the project started out with a bit of a hiccup, it came together beautifully for a major win. All four ornaments turned out lovely and will look fantastic on the Christmas tree this year. I’m curious—do you make your own ornaments, or do you buy them? Our tree is a mix of handmade and store-bought pieces, and I can’t wait to add these to the collection. If you would like to check out some of the other ornaments I’ve made over the years you can find them here: Christmas Ornaments. Have a wonderful week, and I’ll see you back in the craft room soon!
Shop for Supplies Here

PIN THIS POST FOR LATER!
