
Welcome back to the craft room and today’s Tri-fold Folio Album Flip Through post. About 6 years ago I began designing my very first hard cover Tri-fold Folio Album. About half way through, for some odd reason, I had convinced myself that something was terribly wrong with it. After setting it a side for weeks, I still had no idea what was wrong or how to make it right. I decided to put it away in my “Make Me!” tub. Last week, on a sleepless night, I pulled the tub down off the shelf to see what was in there. Lo and behold, I found that partially completed folio and about 6 pages of notes. I pulled it all out and started going over the notes to see where it had all gone so wrong.
Here is what my Tri-fold Folio looked like when I put it away. As you can see, there were already a few completed elements.
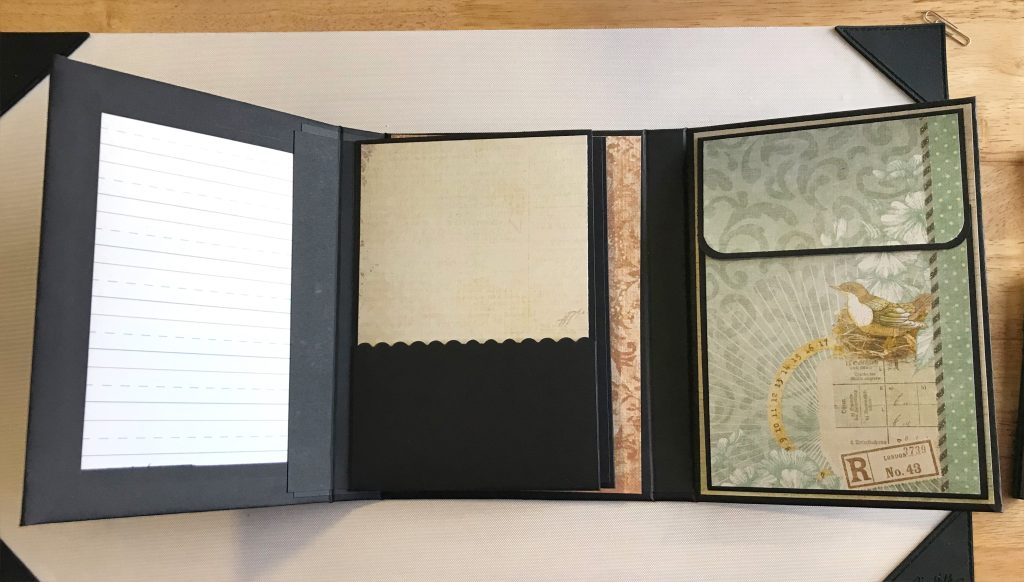



I was determined to figure out what the issue had been after spending a few days trying to decipher my own handwriting, The only way I could do that was to just start. I still had the full paper pad; The Primrose Stack by DCWV, so off I went to the craft room.
Finishing The Tri-fold Folio Album
It really didn’t take very long to add the pattern paper to this folio album. The only real issue I encountered were the lack of dimensions in all 6 of those page notes! The other issue I had was trying to decide what papers to use. The entire paper pack is simply gorgeous. I think there are only 3 pages in the entire pad I really didn’t like. Of those pages, one can be cut strategically and still be used.
I am also including the flip through video here for another perspective of the folio album.
Here is the front cover of my Tri-fold Folio Album. I attempted to fussy cut around the small card element, but that’s not something I do very well. After I mangled the cut, I trimmed it down with my Tim Holtz Mini Trimmer. I then used a piece of black Recollections card stock as a mat.

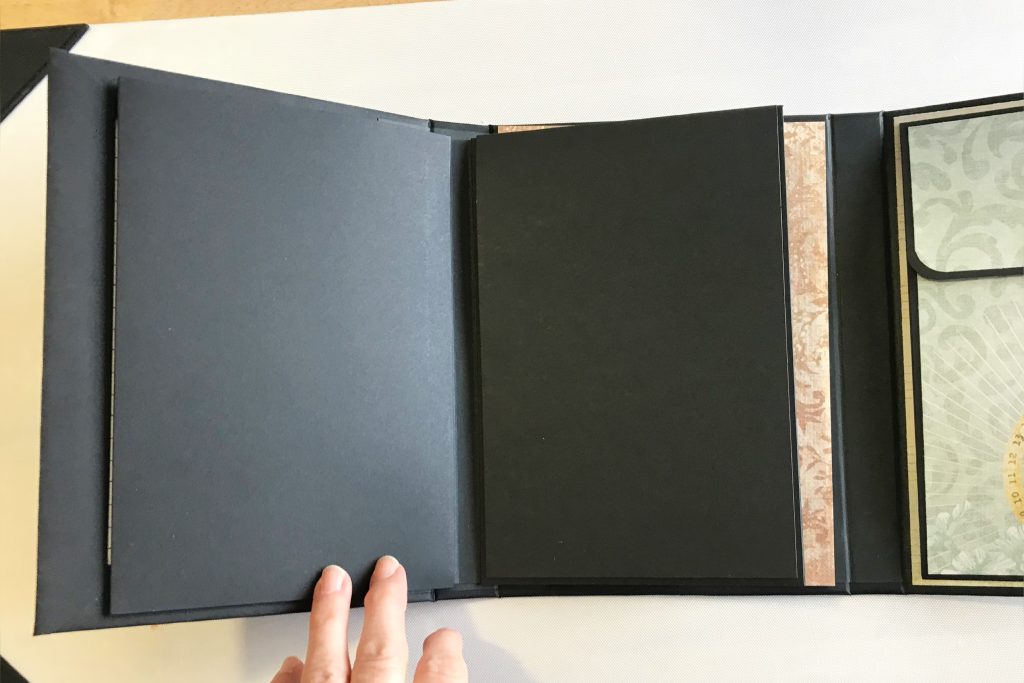
The next set of images show the folio with the left and right covers open. As I mentioned in the video flip through, I have the folio secured with three sets of small magnets. They are 0.24” wide and probably a millimeter thick. I purchased these magnets from Tall Mouse Cre8tive Artz around the time I began designing this book.
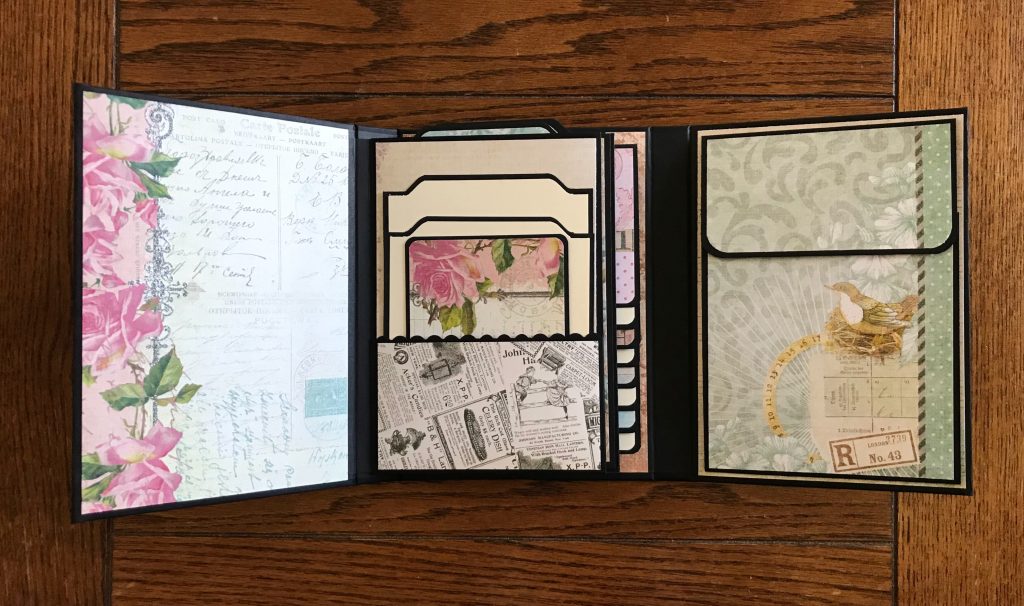
Here are the two center pages of the album. They are both top loading pocket pages that measure 8” x 5 1/2”. The second page also features a flap that offers an additional 8” x 5 1/2” of photo space.

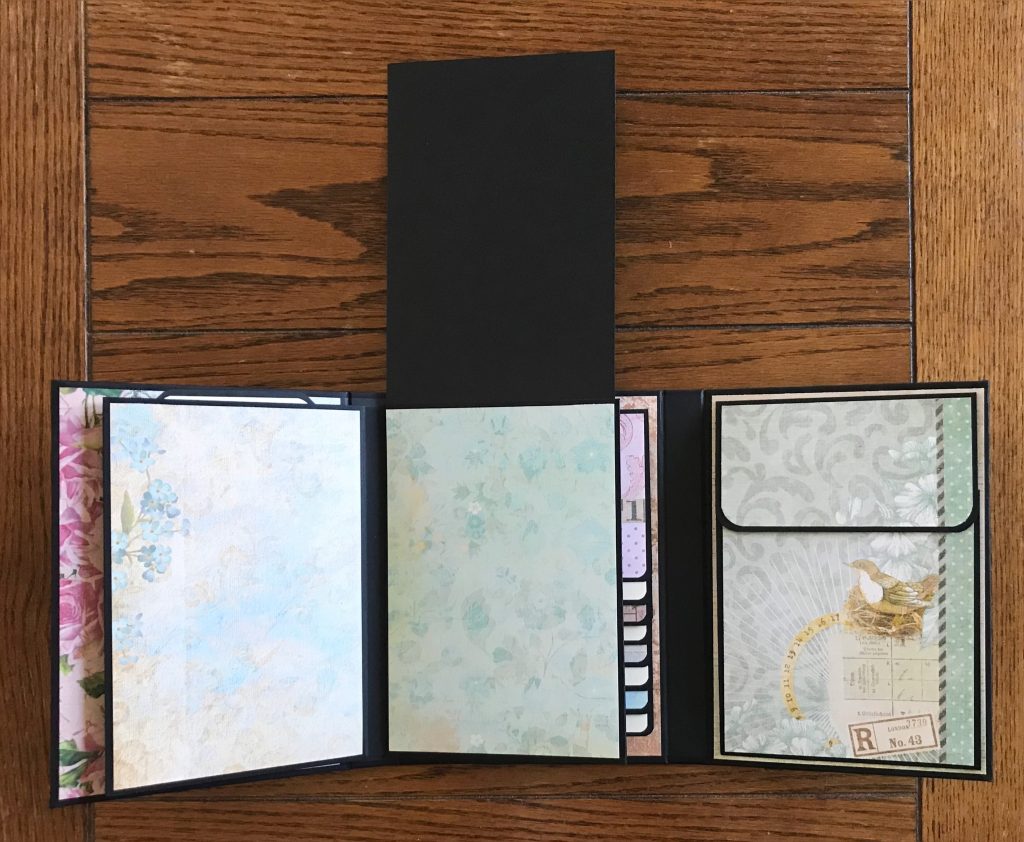
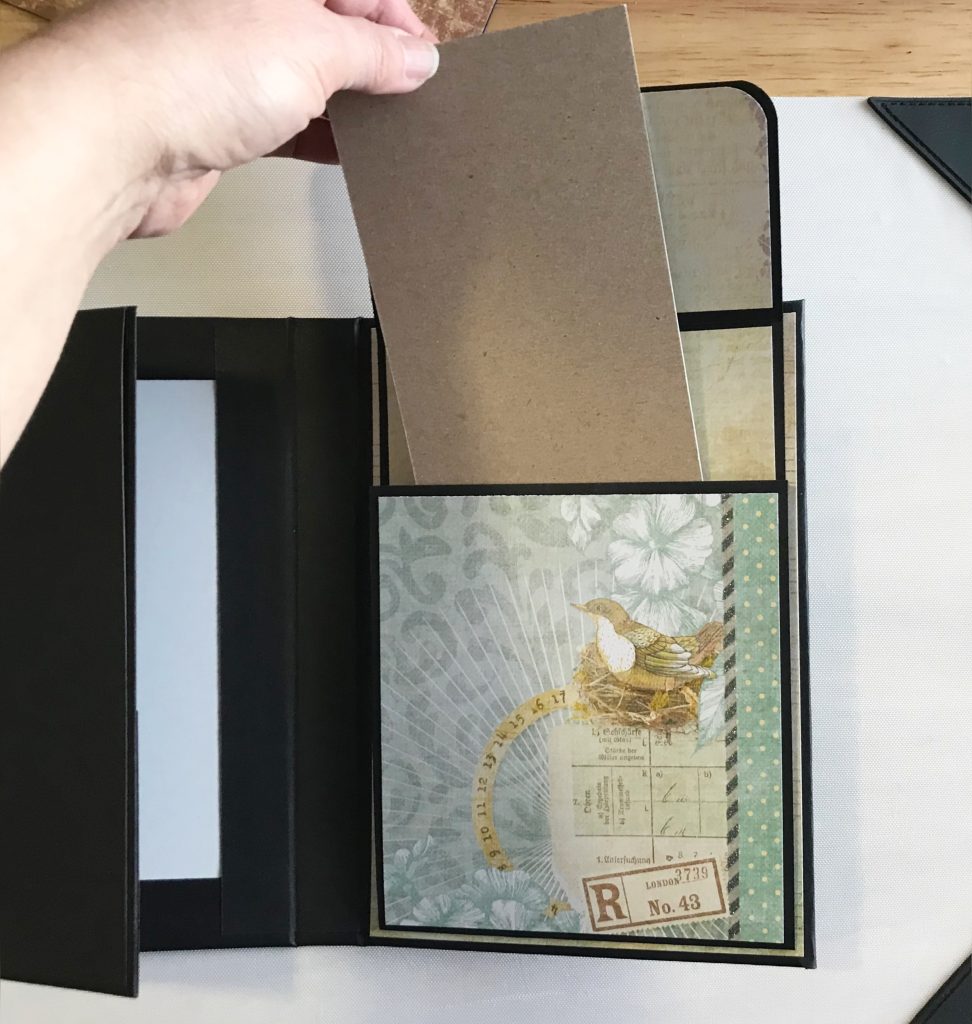
The next set of photos shows the waterfall feature in the center of the album as well as the gusseted pocket on the inside right cover. As I mentioned in the video, the waterfall flaps measure 5 1/2” x 4” and the large pocket is 5 1/2” x 8”. I have always had problems creating waterfalls, until I ran across the video by Michelle Allen from A Creative Operation, How to Make a Stacked Waterfall. If you ever want to add this type of element into a folio or mini album, you simply must watch this video.
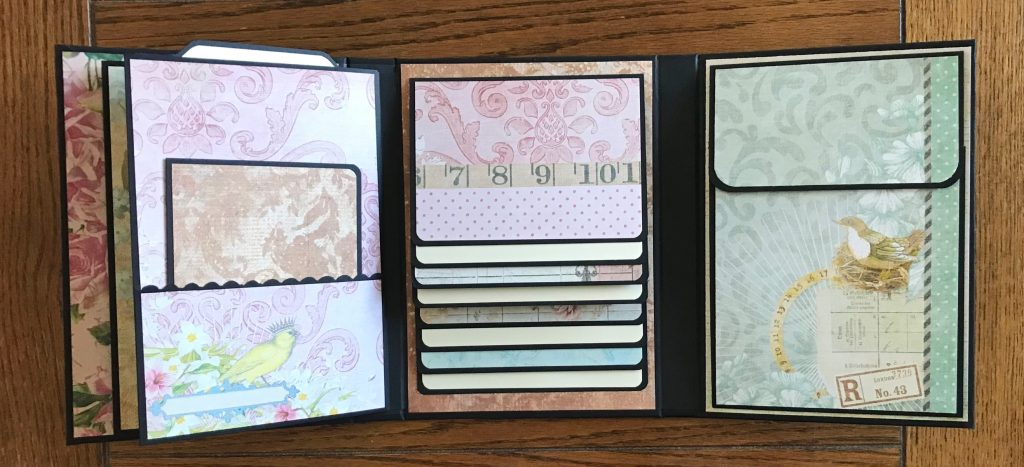
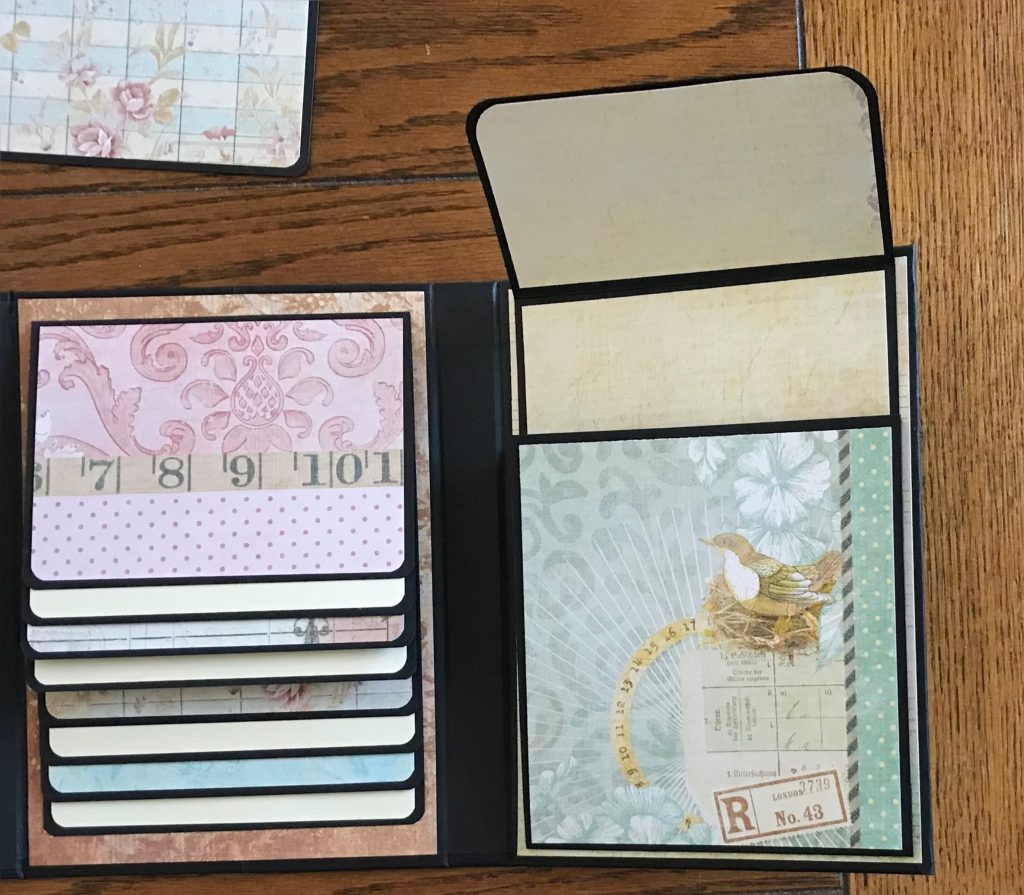
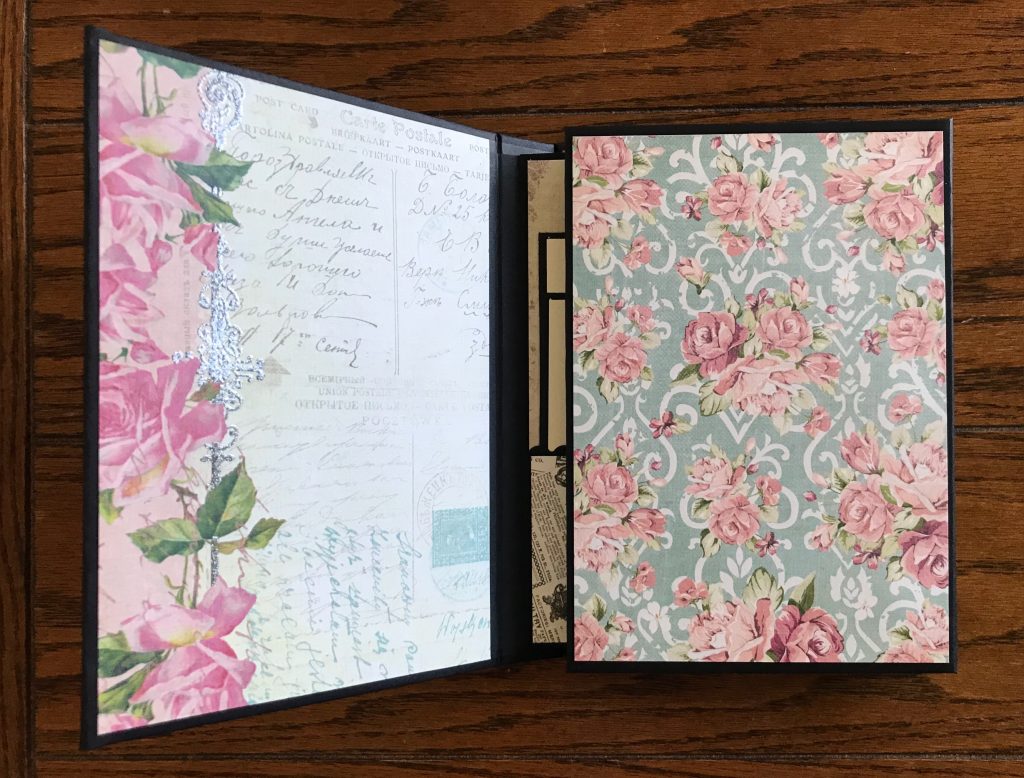
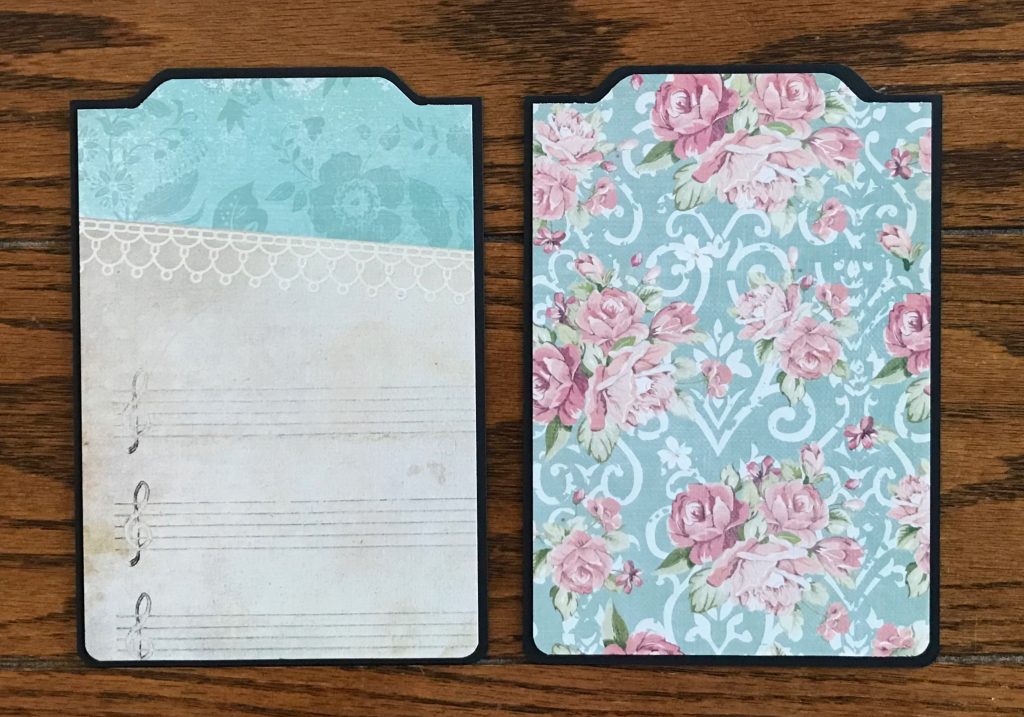
Finally, here is a look at all of the tags that are in this cute little folio album. The large tags in the first photo below measure 7 5/8” x 5 1/4”. In the next album I will make those taller for sure, but the width is perfect for the pocket page. The two cream colored tags in the second picture measure 7” x 5” and 6” x 5”. The tag with the rose is 5 1/2” x 3 3/4”. For the large gusseted pocket, the tag measures 7” x 3 3/4”. Finally, the booklet measures a total of 8 1/2” wide and scored at 4 1/4” and is 5 3/4” tall.

Thank you so much for joining me for today’s Tri-fold Folio Album Flip Through post. I have plans to remake this folio with a few alterations. As a reminder, directions to create the waterfall element can be found here: How to Make a Stacked Waterfall. If you have any plans to include a waterfall element in a mini album or folio I recommend checking out this video.
If you are interested, here is a link to more posts just like this one, Mini Album/Folio Archives. Let me know down in the comments below, which album or folio is your favorite. Until then, have a fantastic week and I will see you back in the craft room again soon!
PIN THIS POST FOR LATER!
