
Welcome back to the craft room and today’s Folio Flip Album with Updated Waterfall Element post. If you have been around here for a while, you may have seen my Folio Flip Album. I remember the day that design came to mind, and I had so much fun putting it together for the first time. Not long after that, I remade the album and took detailed photos for my Folio Flip Album Tutorial post. As of today, that tutorial is the most popular post on my blog thanks to all of you. As much as I love that folio, I have since found a much easier way to make the waterfall element, and that is what I want to share with you today.
It is important to note today’s post is only going to focus on a different way of creating the waterfall. For the full tutorial you can follow along with the original blog post listed above, or with the YouTube video below.
The Stacked Waterfall
I love the look of a waterfall in mini albums and folios, but dread trying to make them. Because the elements are all separate, if the first one isn’t straight, none of them are. Because of this and my inability to glue anything in a straight line I tend not to use them. That all changed earlier this year after running across the video How to Make a Stacked Waterfall by Michelle Allen from A Creative Operation. Of course, seeing is believing, so it was off to the craft room to give it a try. Even using a bunch of mis-matched pieces of scrap paper, that waterfall turned out great!
Today I want to walk you through the basics of this waterfall technique, but I also want to encourage you to jump over to Michelle’s page to get all the details. Having said that, let me show you how I made the new waterfall element for my folio.
I am using two pieces of 12″ x 12″ kraft card from The Paper Studio for today’s project. This is not my favorite kraft card, but since Recollections is no longer making the 12” x 12” size, it is all I have in this color. The width of this waterwall will be 5.5″ with a total of 8 pages that will be 4″ tall. To make this we need to cut four pieces of kraft card stock at 5.5″ wide. Each of the four pieces will be a different length, starting at 11.5″, 10.5″, 9.5″, and 8.5″. In the image below you can see the exact sizes of each of the four pieces.

Scoring our first piece will be the same as scoring the last piece so let’s start with the 11.5″ strip of card. On the 11.5” side we will make a score at 4″. Rather than try to figure out the math for each piece, let’s rotate the card 90 degrees and score again at 4″. For the remainder of the waterfall strips we will do the same. Place the paper on the long side, score at 4″, rotate 90 degrees and score again at 4″.


When all four pieces have been scored and folded, they will stack together as you can see in the photo below.

Gluing the Waterfall Together
Now that we have all four pages ready, it’s time to glue them together. Like Michelle, I brought my score board back in to help line things up. I began by placing the 11.5″ piece against the ledge of the board. After applying the adhesive of choice to the center of the section of the 10.5″ piece, line it up at the 4.5″ mark on your score board as shown below. This will give you the half inch gusset between the first and second pages of the waterfall.

Continue with the next two pieces, aligning them at 5″ and then 5.5″ on the score board to complete the waterfall.


When all the pages have been glued together your finished waterfall will look like the image below. If you want to round the edges of the pages, I suggest doing that before gluing them together. To cover the waterfall pages, trim the pattern paper to 3.75″ x 5.25″. You can cover the front and back of each flap or leave the back empty for a journaling space.

To secure the waterfall to your mini album of folio I would suggest a combination of double-sided tape as well as a wet glue. I am using 1″ Scor-tape and Art Glitter Glue. If you want the last page to flip up, make sure to only apply your adhesive to the center of the back page. I decided to secure the entire piece down to my Folio Flip Album. Another option you could consider would be to create a large pocket by only adding your adhesive to three sides.

The Finished Folio Flip Album
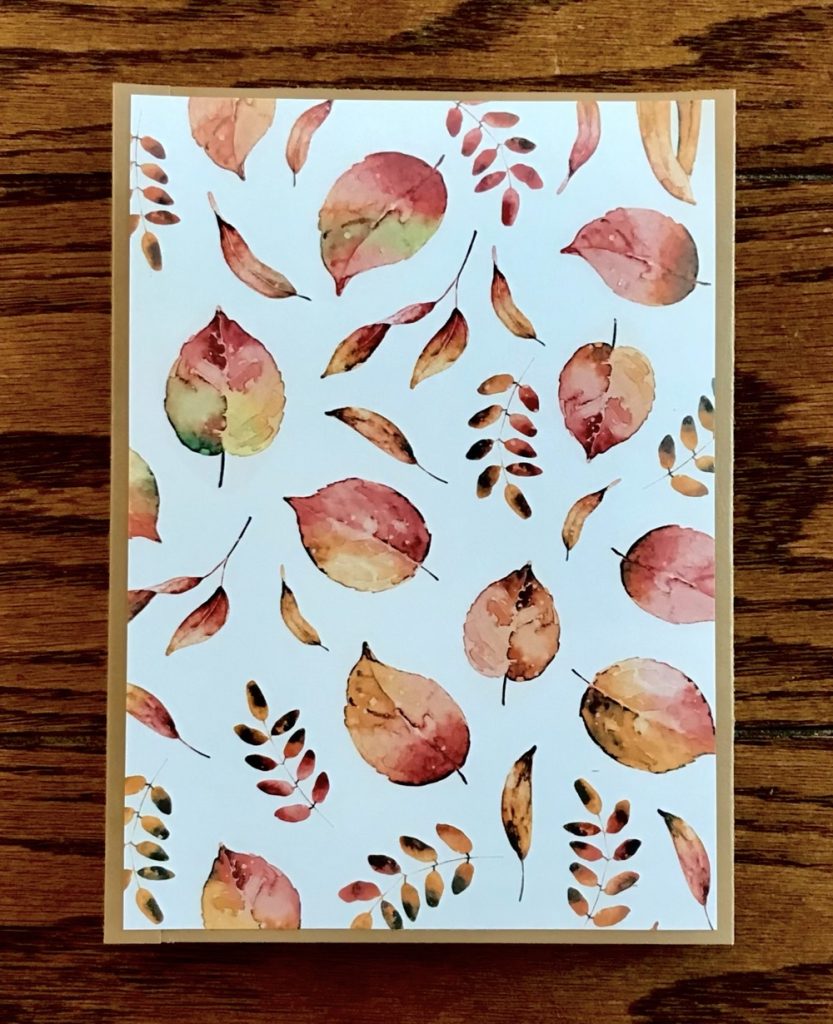
Since I did create a new folio for the corresponding video, I thought I would share it with you here as well. To decorate it I am using more of the pattern paper from the Recollections Autumn Blaze paper pad. Of course, I had to add my favorite page to the front cover of this folio, and it looks amazing! The pattern paper for the covers measure 5.5″ x 7.75″ while the flaps measure 2.75″ x 7.75″.

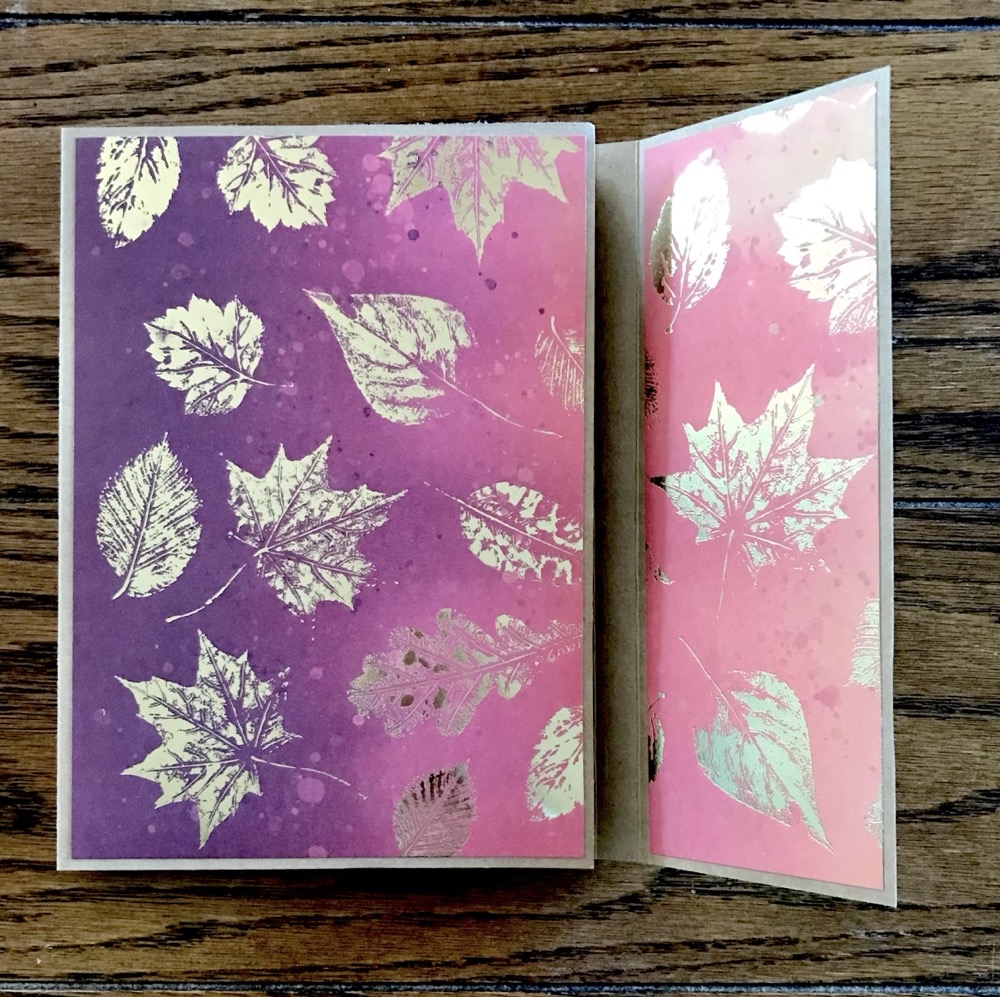
The inside of this folio is so bright and cheery with all the fall colors! In my other two folios I did add a piece of pattern paper under the waterfall. Because this element is a little bit larger, I decided to not cover this section. The pocket on the left-hand page measures 5.5″ x 3″ and the pattern paper is cut to 5.25″ x 2.75″.

When adding the pattern paper to the waterfall, I decided to leave the gussets blank as well as the back of the pages. Also, in my original tutorial post I did add a thin strip of pattern paper to the cover gussets.

With extra cardstock and pattern paper I made a few photo mats and journaling cards to tuck into the pocket. These can be any size you like. Below I have three single mats and a small booklet that fit perfectly into the pocket. From left to right they measure 5” x 7” photo mat, 4.5” x 6.5” photo mat, 4” x 6” booklet, and 4.5” x 5.5” photo mat.

Thank you for joining me for today’s Folio Flip Album with Updated Waterfall Element post. I had so much fun making this new waterfall element! It is so much easier to create than individual pieces, at least for me. Don’t forget to head over to Michelle’s page and show her some love. I am curious, do you typically add waterfalls to your mini alums and folios? If you do, what do you think about this simplified way to create them? Let me know down in the comments if you will be using it in your next project. Until then, have a fantastic week and I will see you back in the craft room again soon!
Shop for Supplies Here

PIN THIS POST FOR LATER!

I just ran across this on Pinterest and wow! You did a fantastic job sharing how to make this waterfall and I am so appreciative of the shout out! Thank you so much❤️ I absolutely love this method and am glad you do too!
Hi Michelle! I should really be the one thanking you—your design is so clever and much easier to put together than the traditional waterfall styles! I was genuinely excited to share it, and I’m so glad you happened to find the post. Your sweet comment totally made my day. It means a lot coming from the person who came up with such a great idea!
Happy Crafting!!